How to Develop Chromium HMI Applications Using Plasmic
Page Information
The information provided on this page has been verified using the following SDK versions and evaluation kits (EVKs):
- HMI SDK v3.4.0.0 (Yocto 5.0.9 (scarthgap), kernel 6.1) using RZ/G3E EVK
- HMI SDK v3.4.1.0 (Yocto 5.0.9 (scarthgap), kernel 6.1) using RZ/G2L and RZ/G2LC EVK
Last updated: April 13, 2026
Plasmic is an open-source visual editing and content platform for building websites and apps. Integrate with existing codebases. Ship incredibly fast. For more information about Plasmic, see the Plasmic GitHub Repository.
This guide describes how to use Plasmic, a web-based visual UI builder, to develop Chromium HMI applications. You will complete the following steps:
Step 1: Design UI in Plasmic
Step 2: Create React App and Connect Plasmic
Step 3: Run the Plasmic Sample Application and Verify Locally
Step 4: Build the Chromium Sample Application
Step 5: Deploy the Chromium Sample Application
Step 6: Run the Chromium Sample Application
Tip
Step 1 demonstrates how to use Plasmic’s drag-and-drop features to design the UI of your application.
Step 2-3 explains how to set up and launch the Plasmic project locally.
Step 4 explains how to build the Plasmic application.
If you prefer, you can download the ready-to-use built web application files by clicking here and proceed directly to Step 5.
Step 1: Design UI in Plasmic
1-1. Log in and create a new project
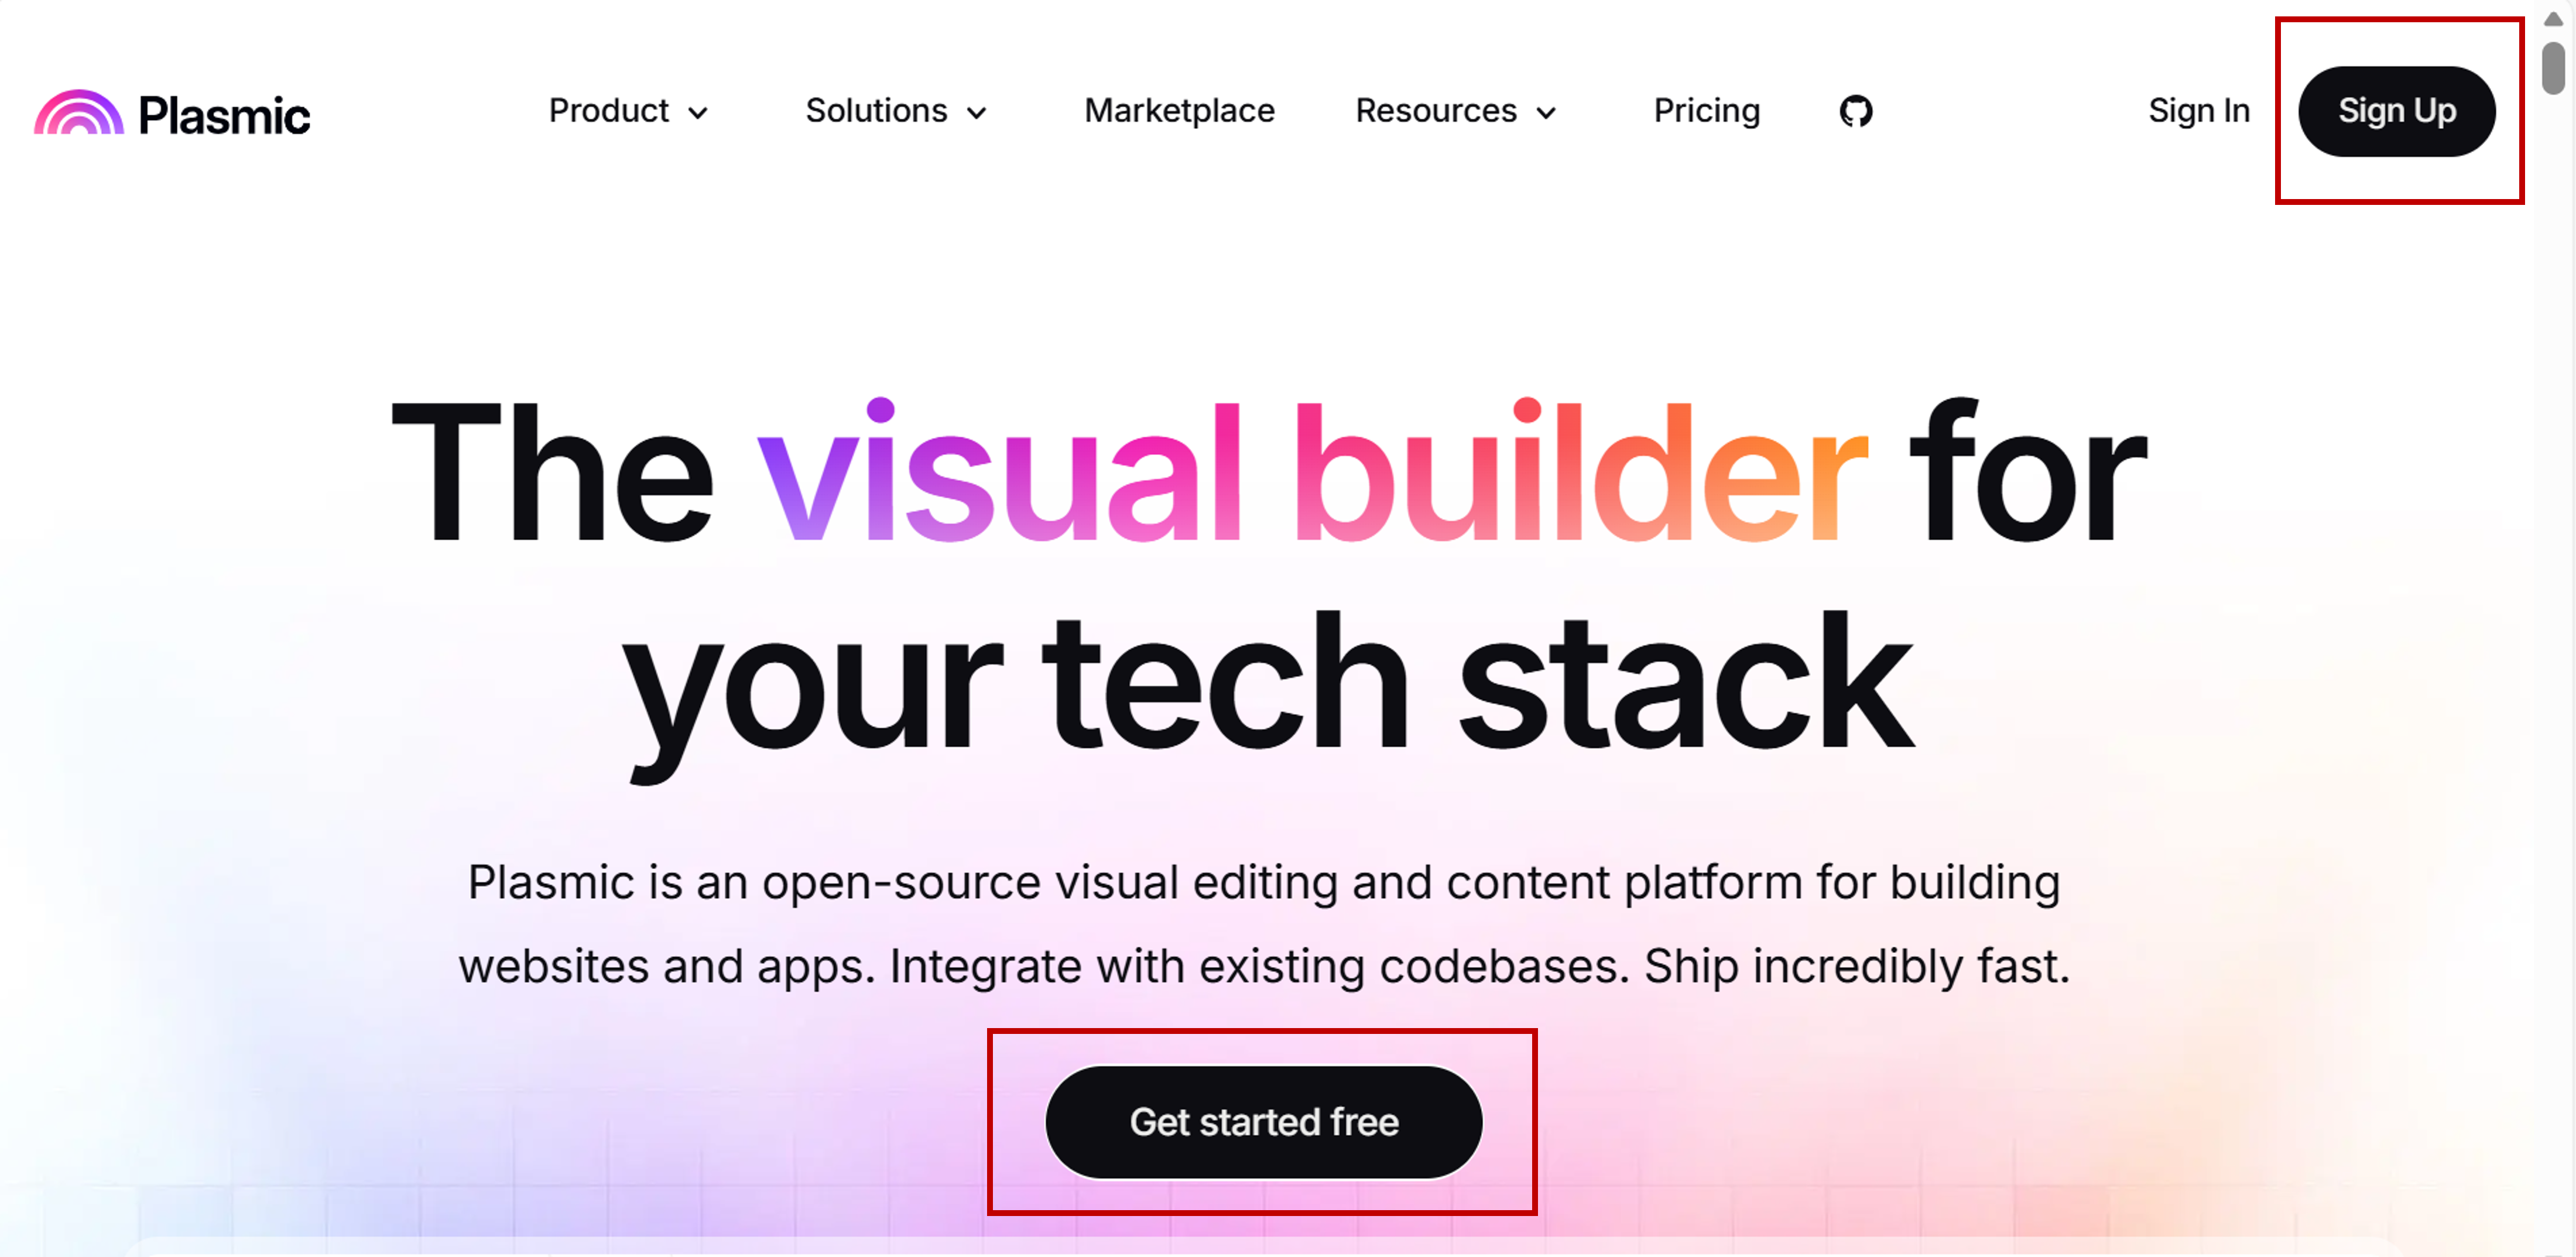
Open Plasmic and click Get started free or Sign Up to create an account, then follow the on-screen instructions.
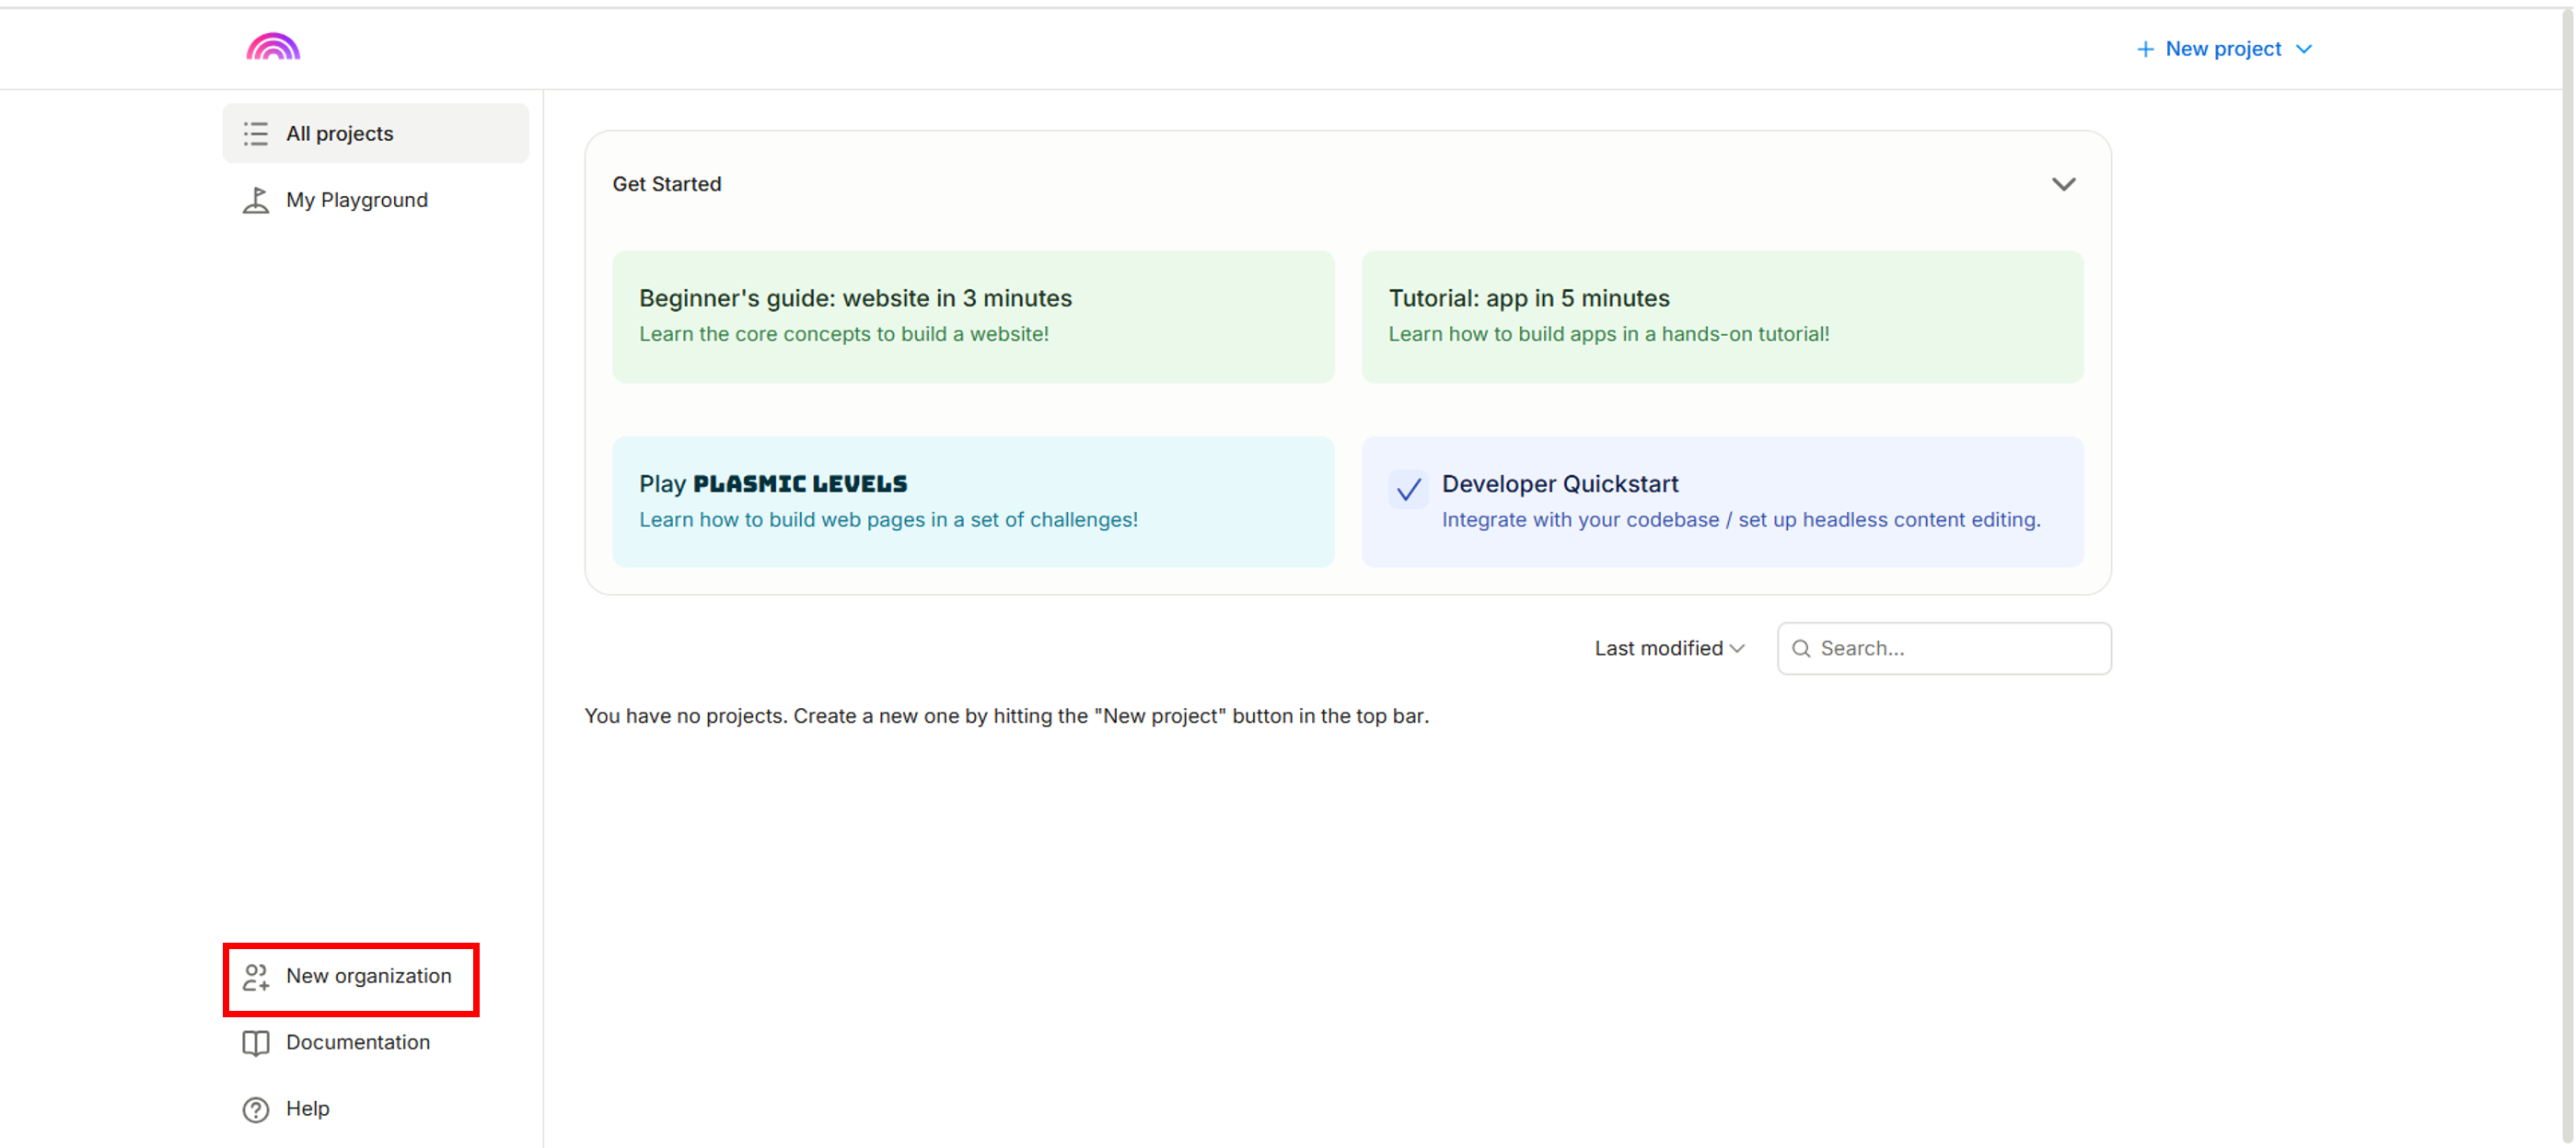
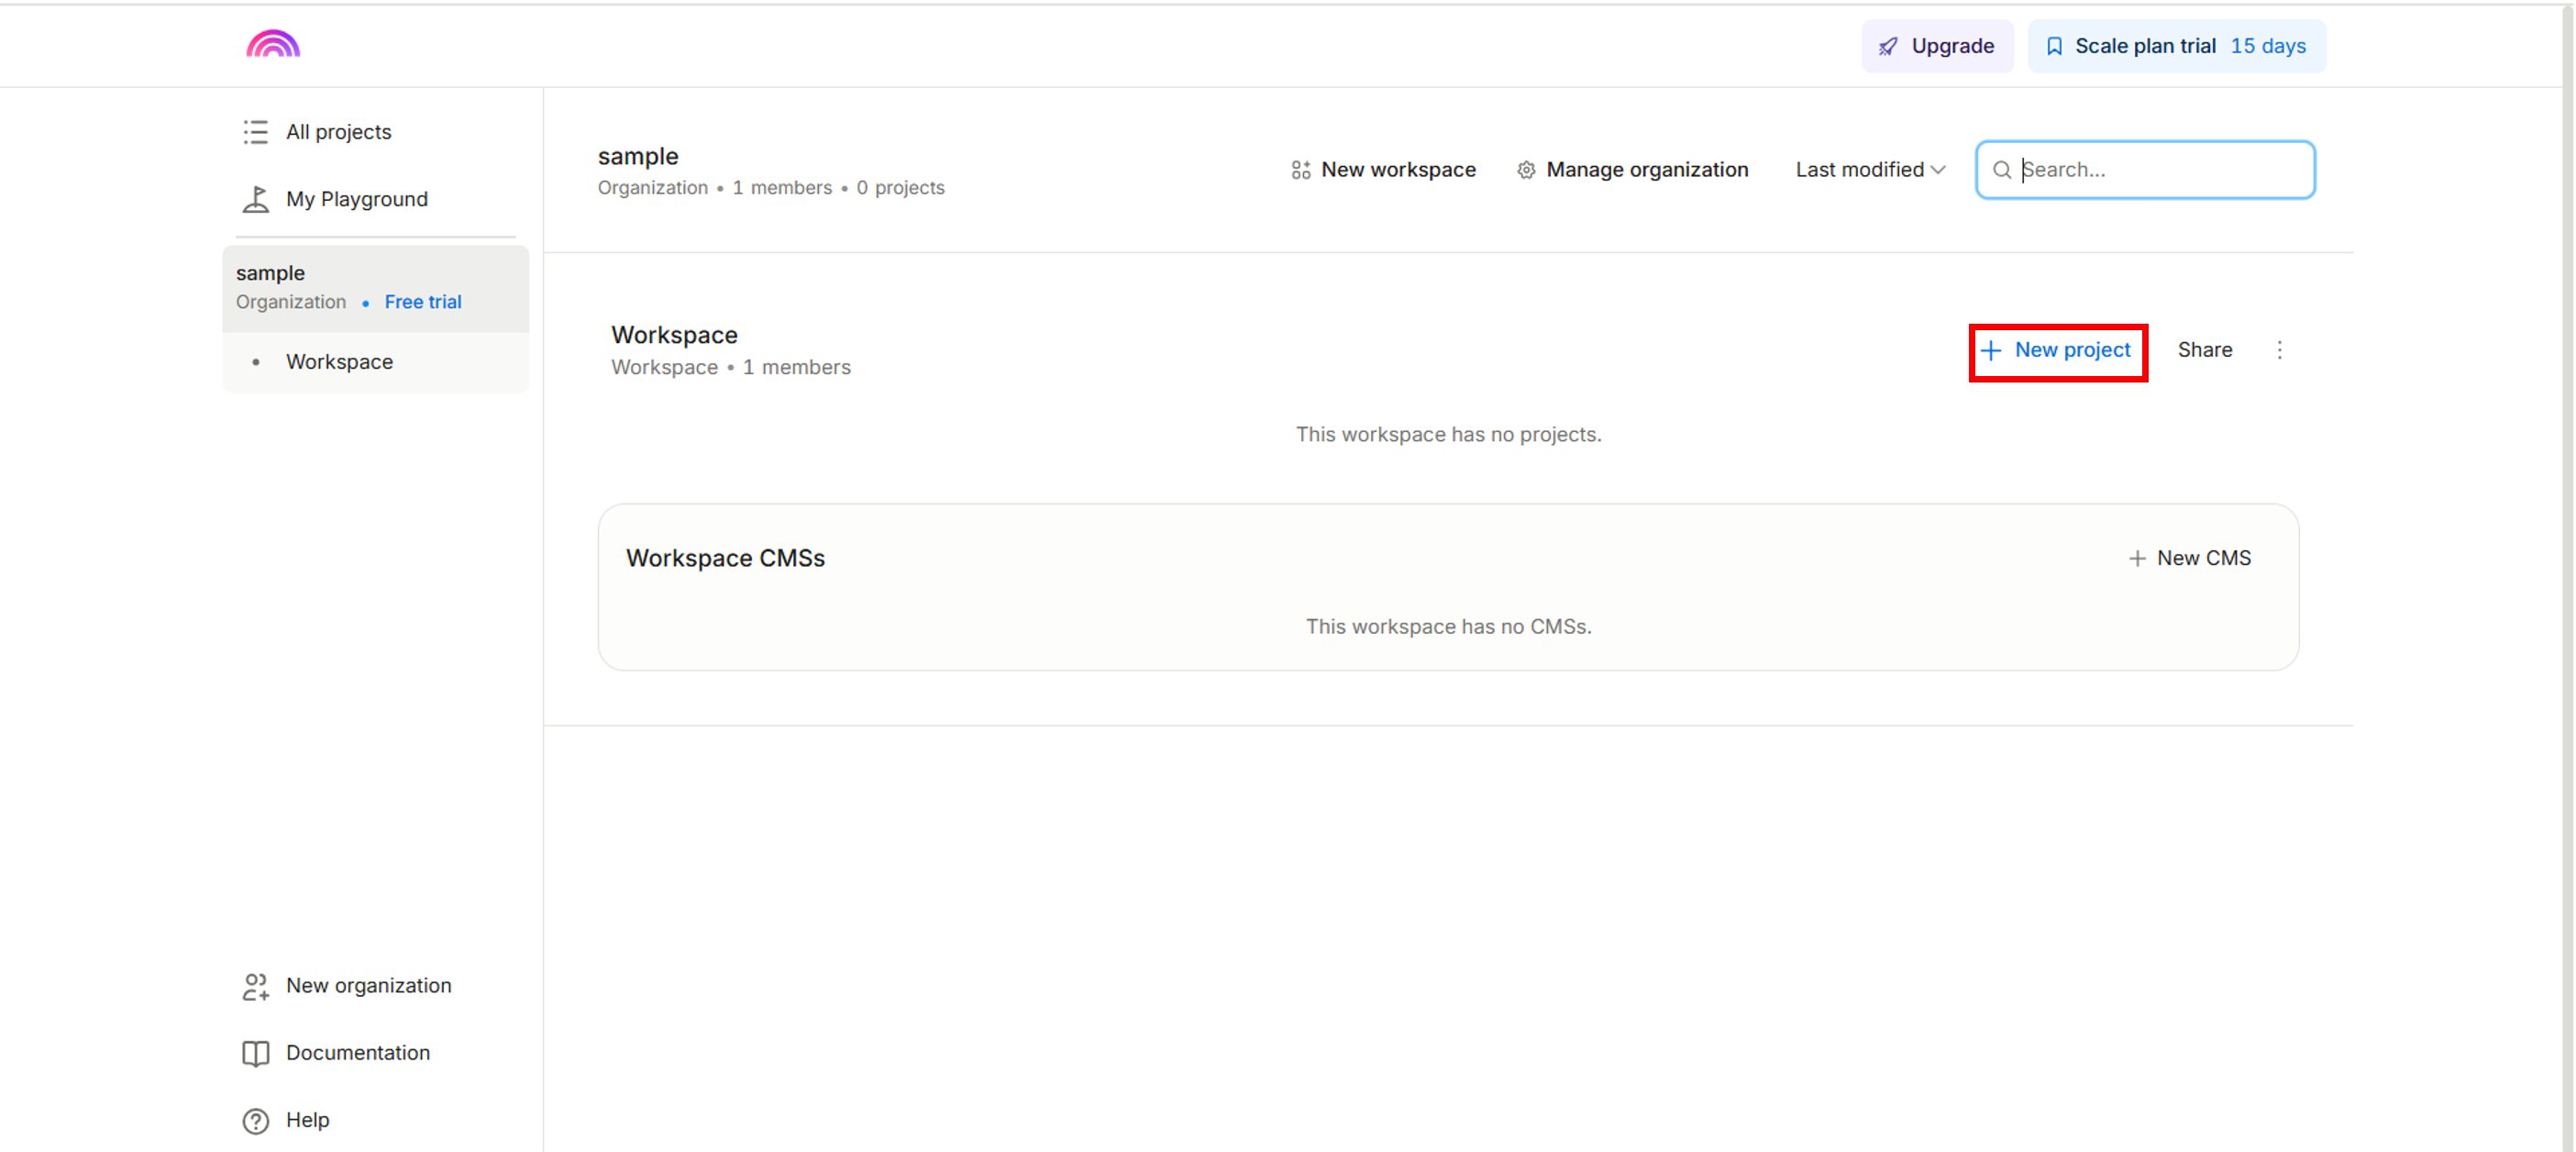
After logging in, create a New organization, then create a New project.
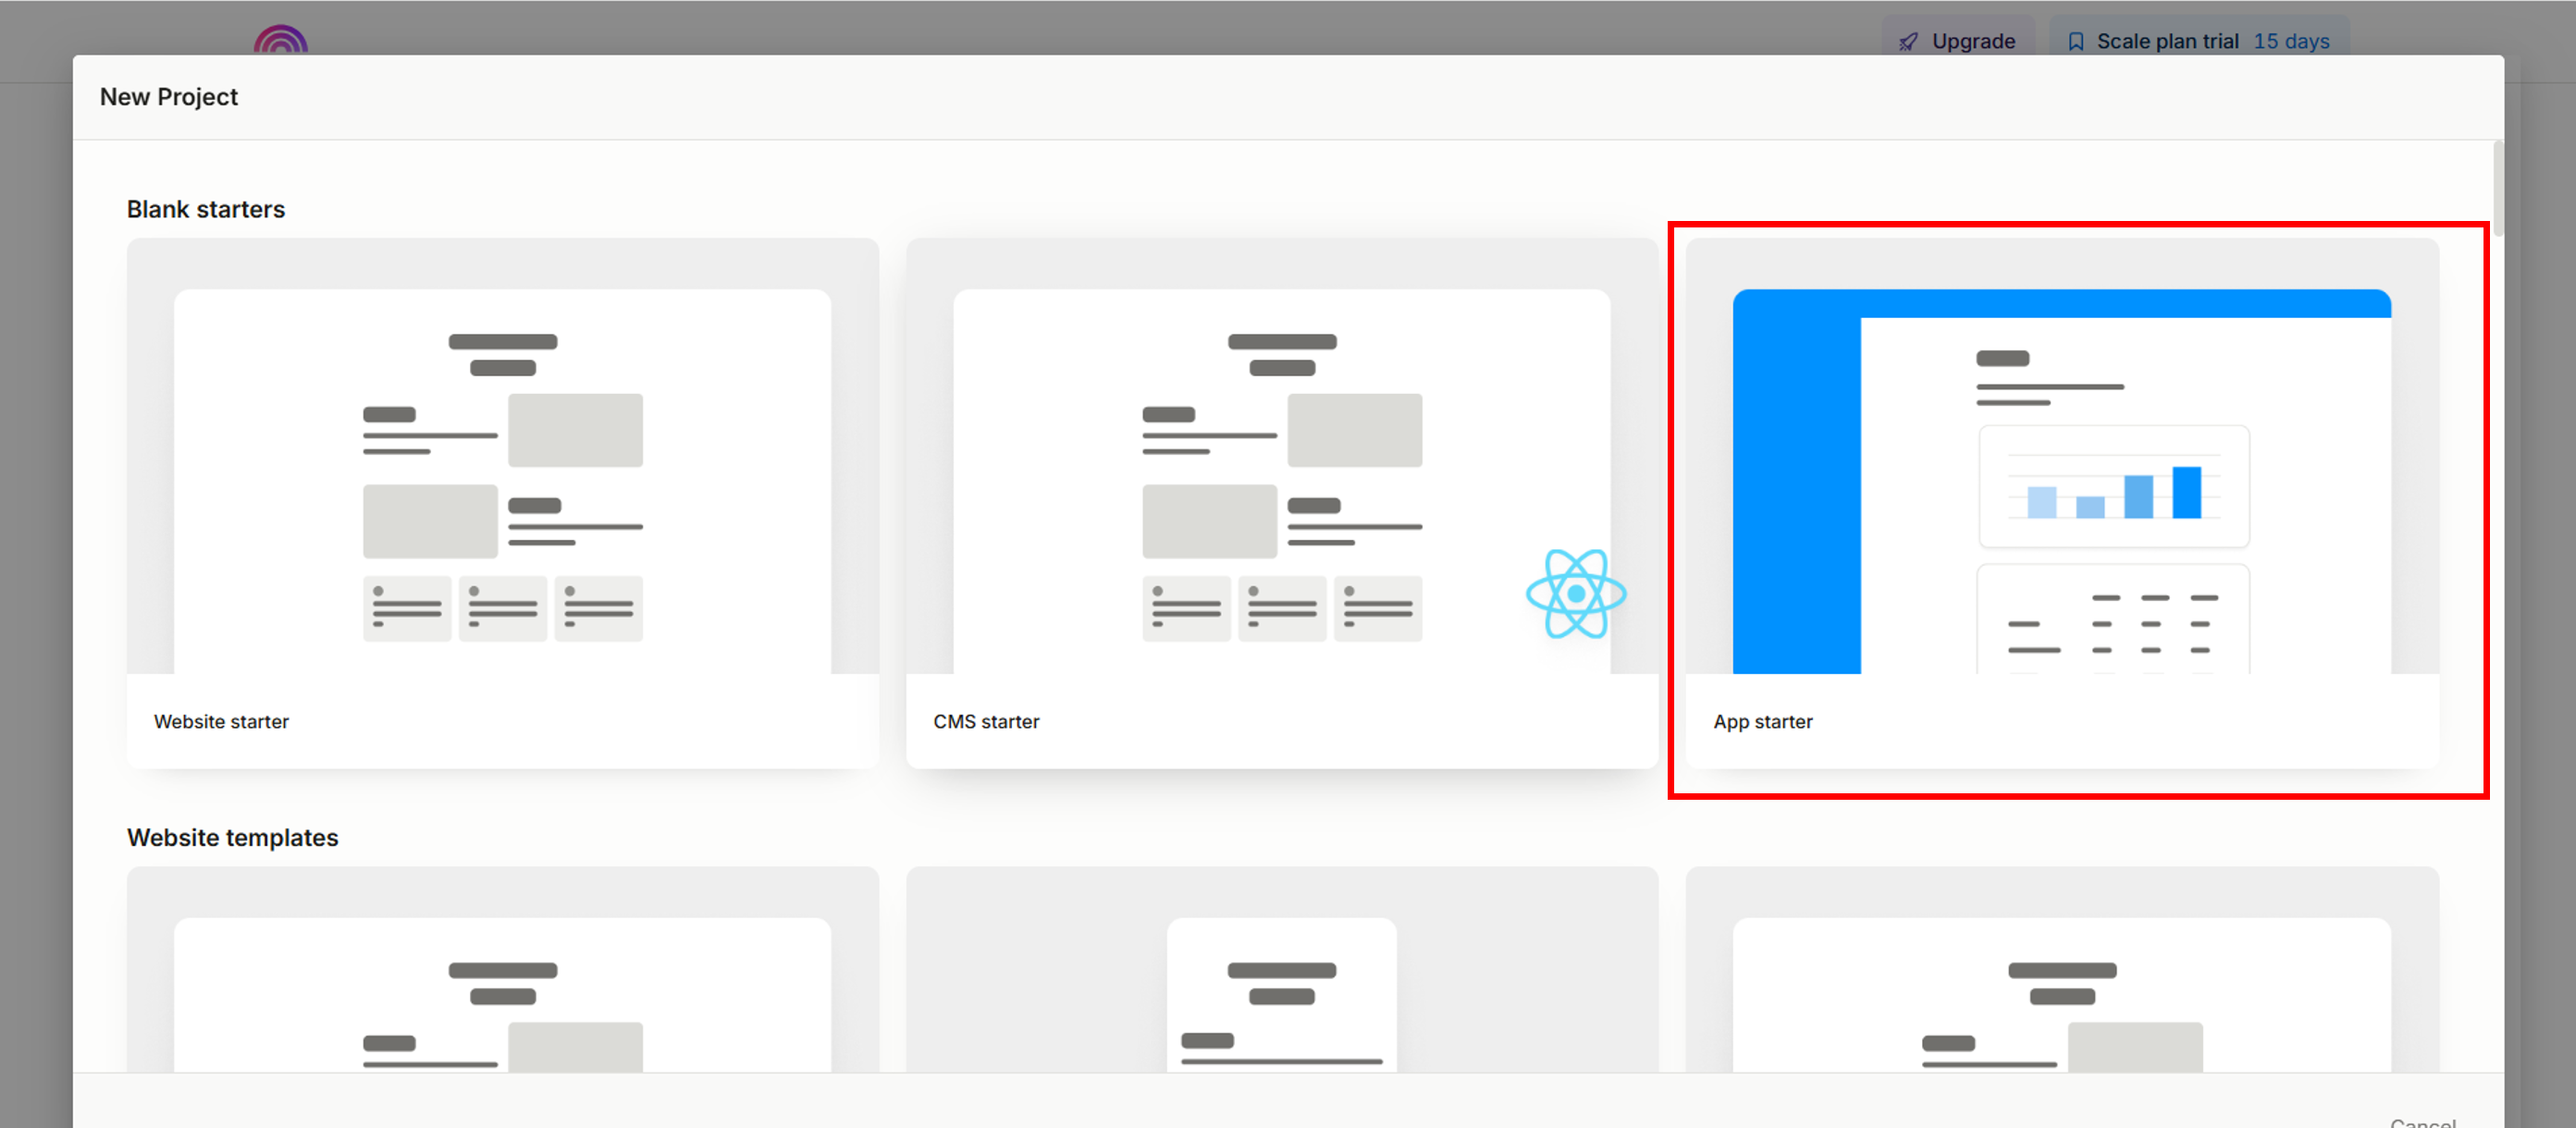
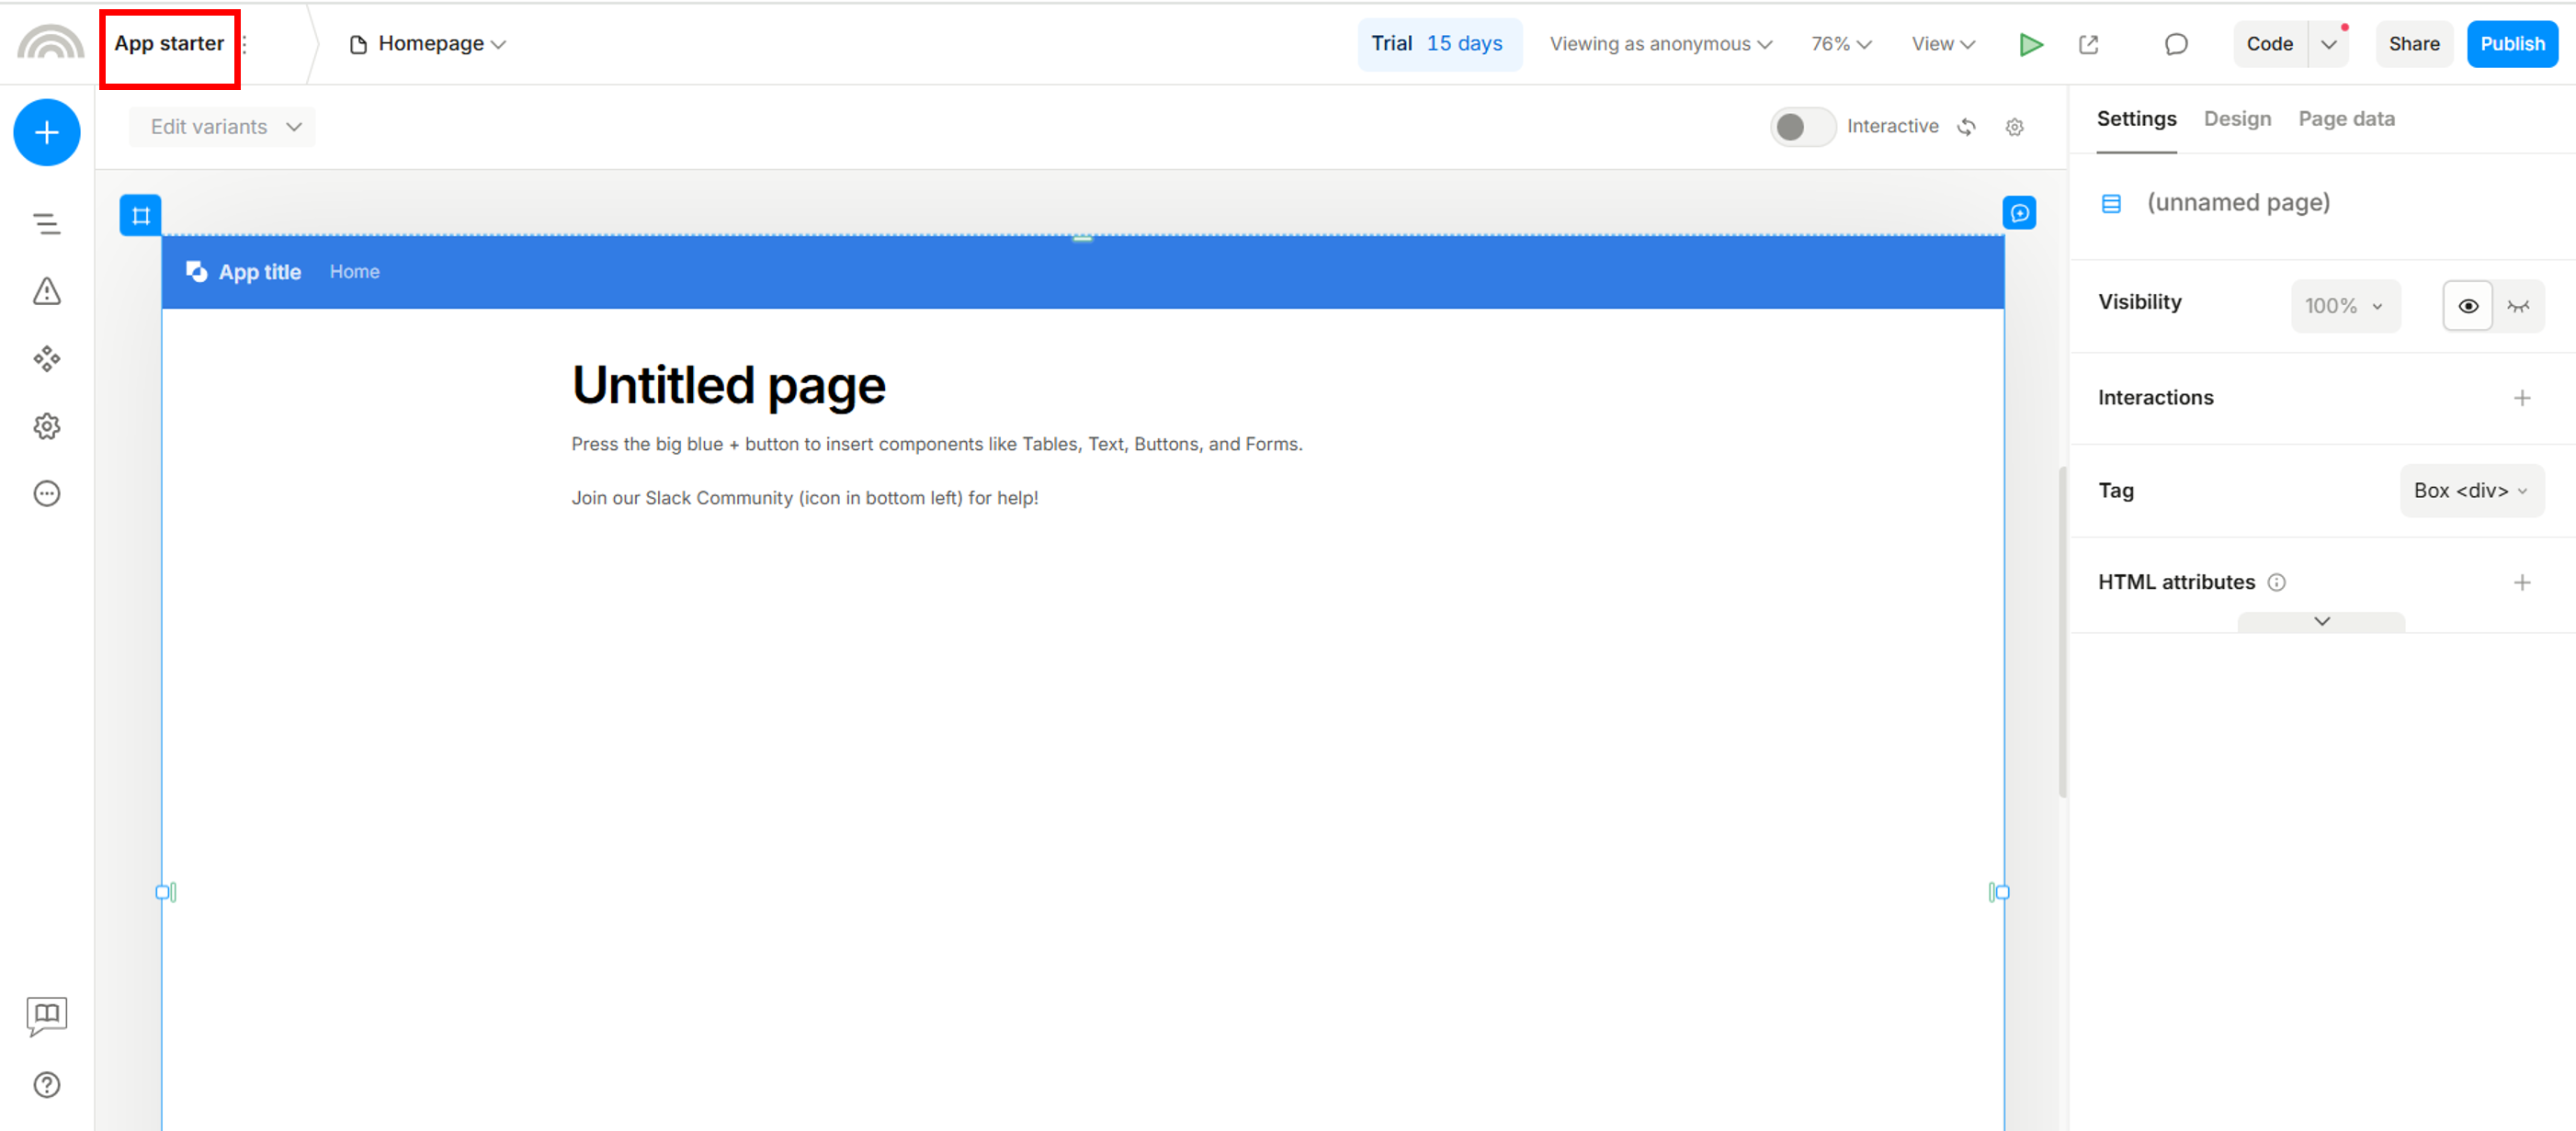
Select the template to use. This guide uses the App starter template.
Rename your project to Plasmic_sample_app.
1-2. Create pages
In this sample application, 3 pages will be created:
Design your layout and add or delete components as needed.
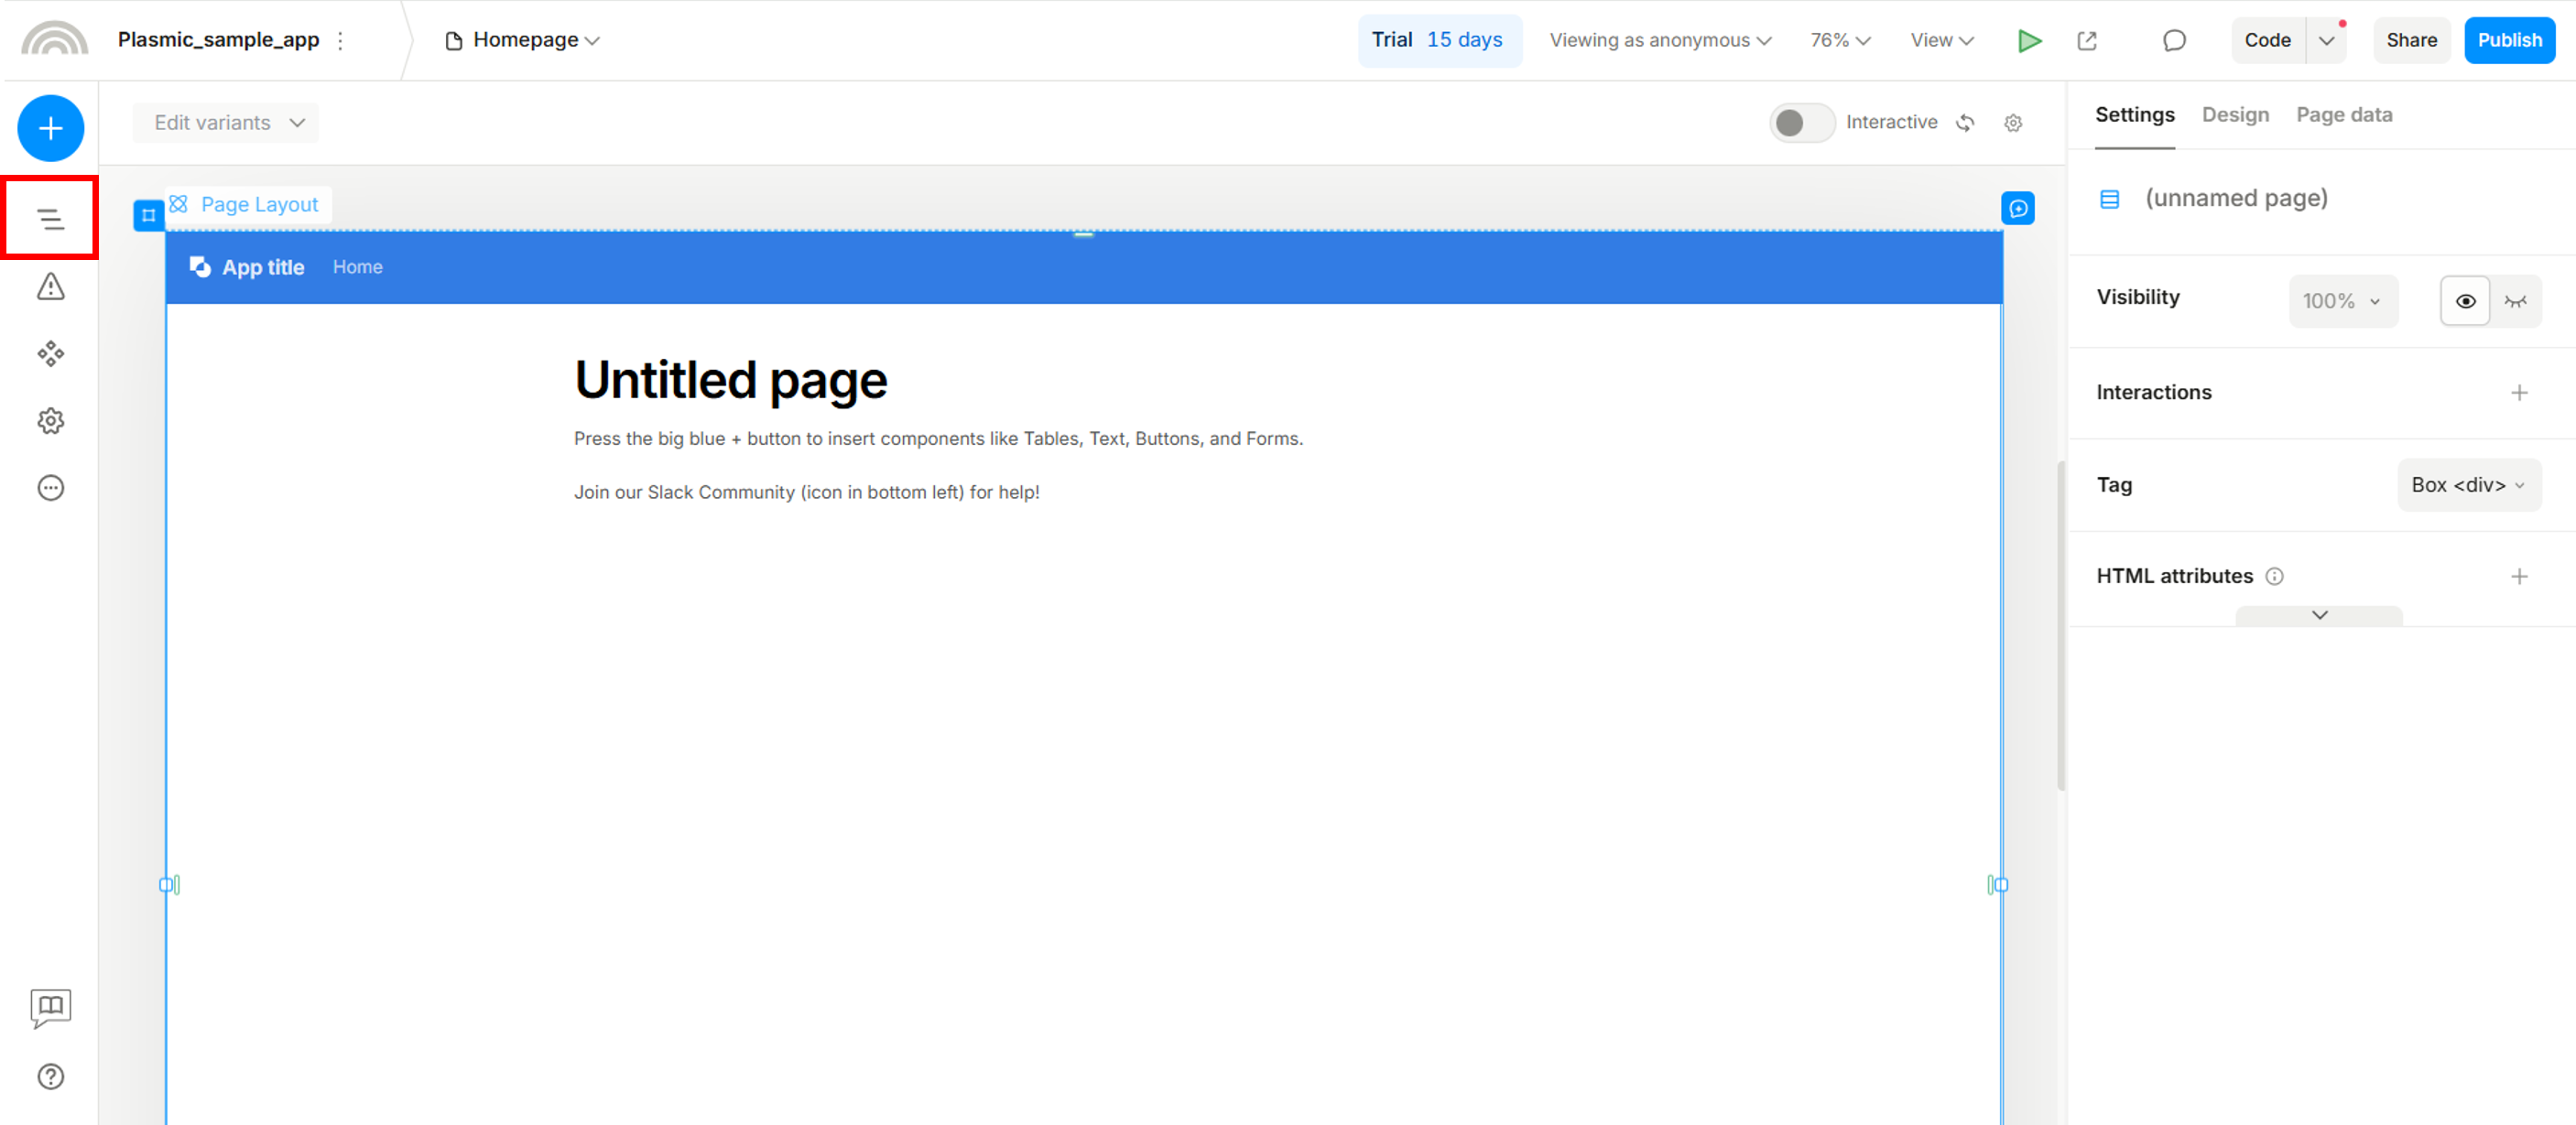
You can view and delete objects by clicking the Outline panel (highlighted in the red frame).
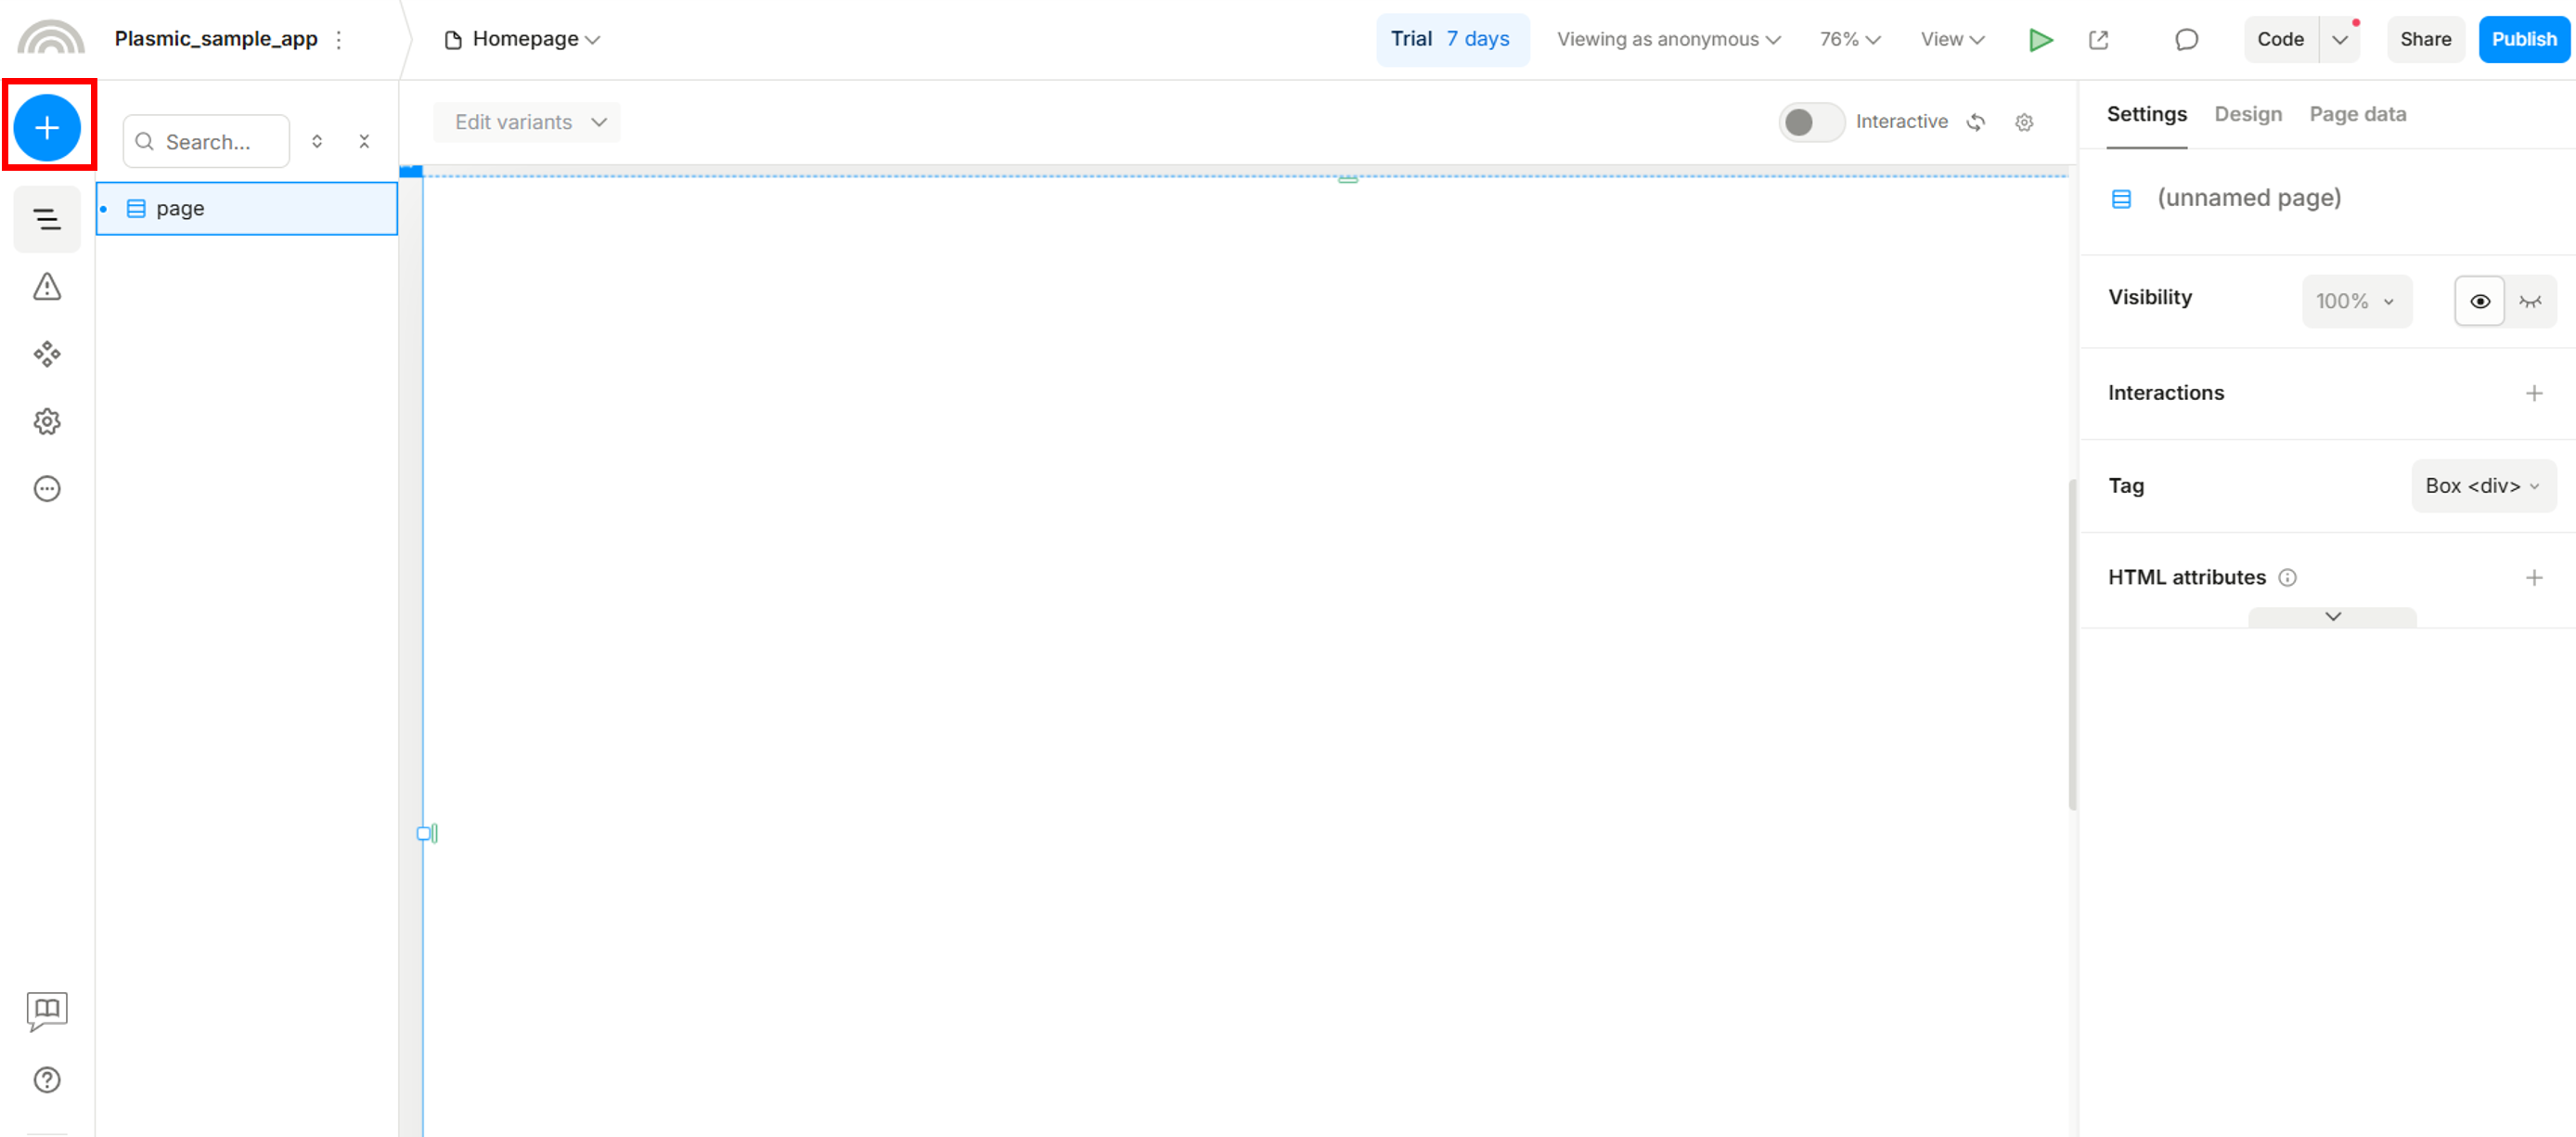
You can also add components, icons, or images by clicking the blue button.
Tip
For each component’s size, we recommend using (%) so the layout can adapt to different display sizes.
Homepage
Please refer to the image below to design your homepage layout.
JPG page
Click the + button shown in the red box to create a new page, then rename it to JPG.
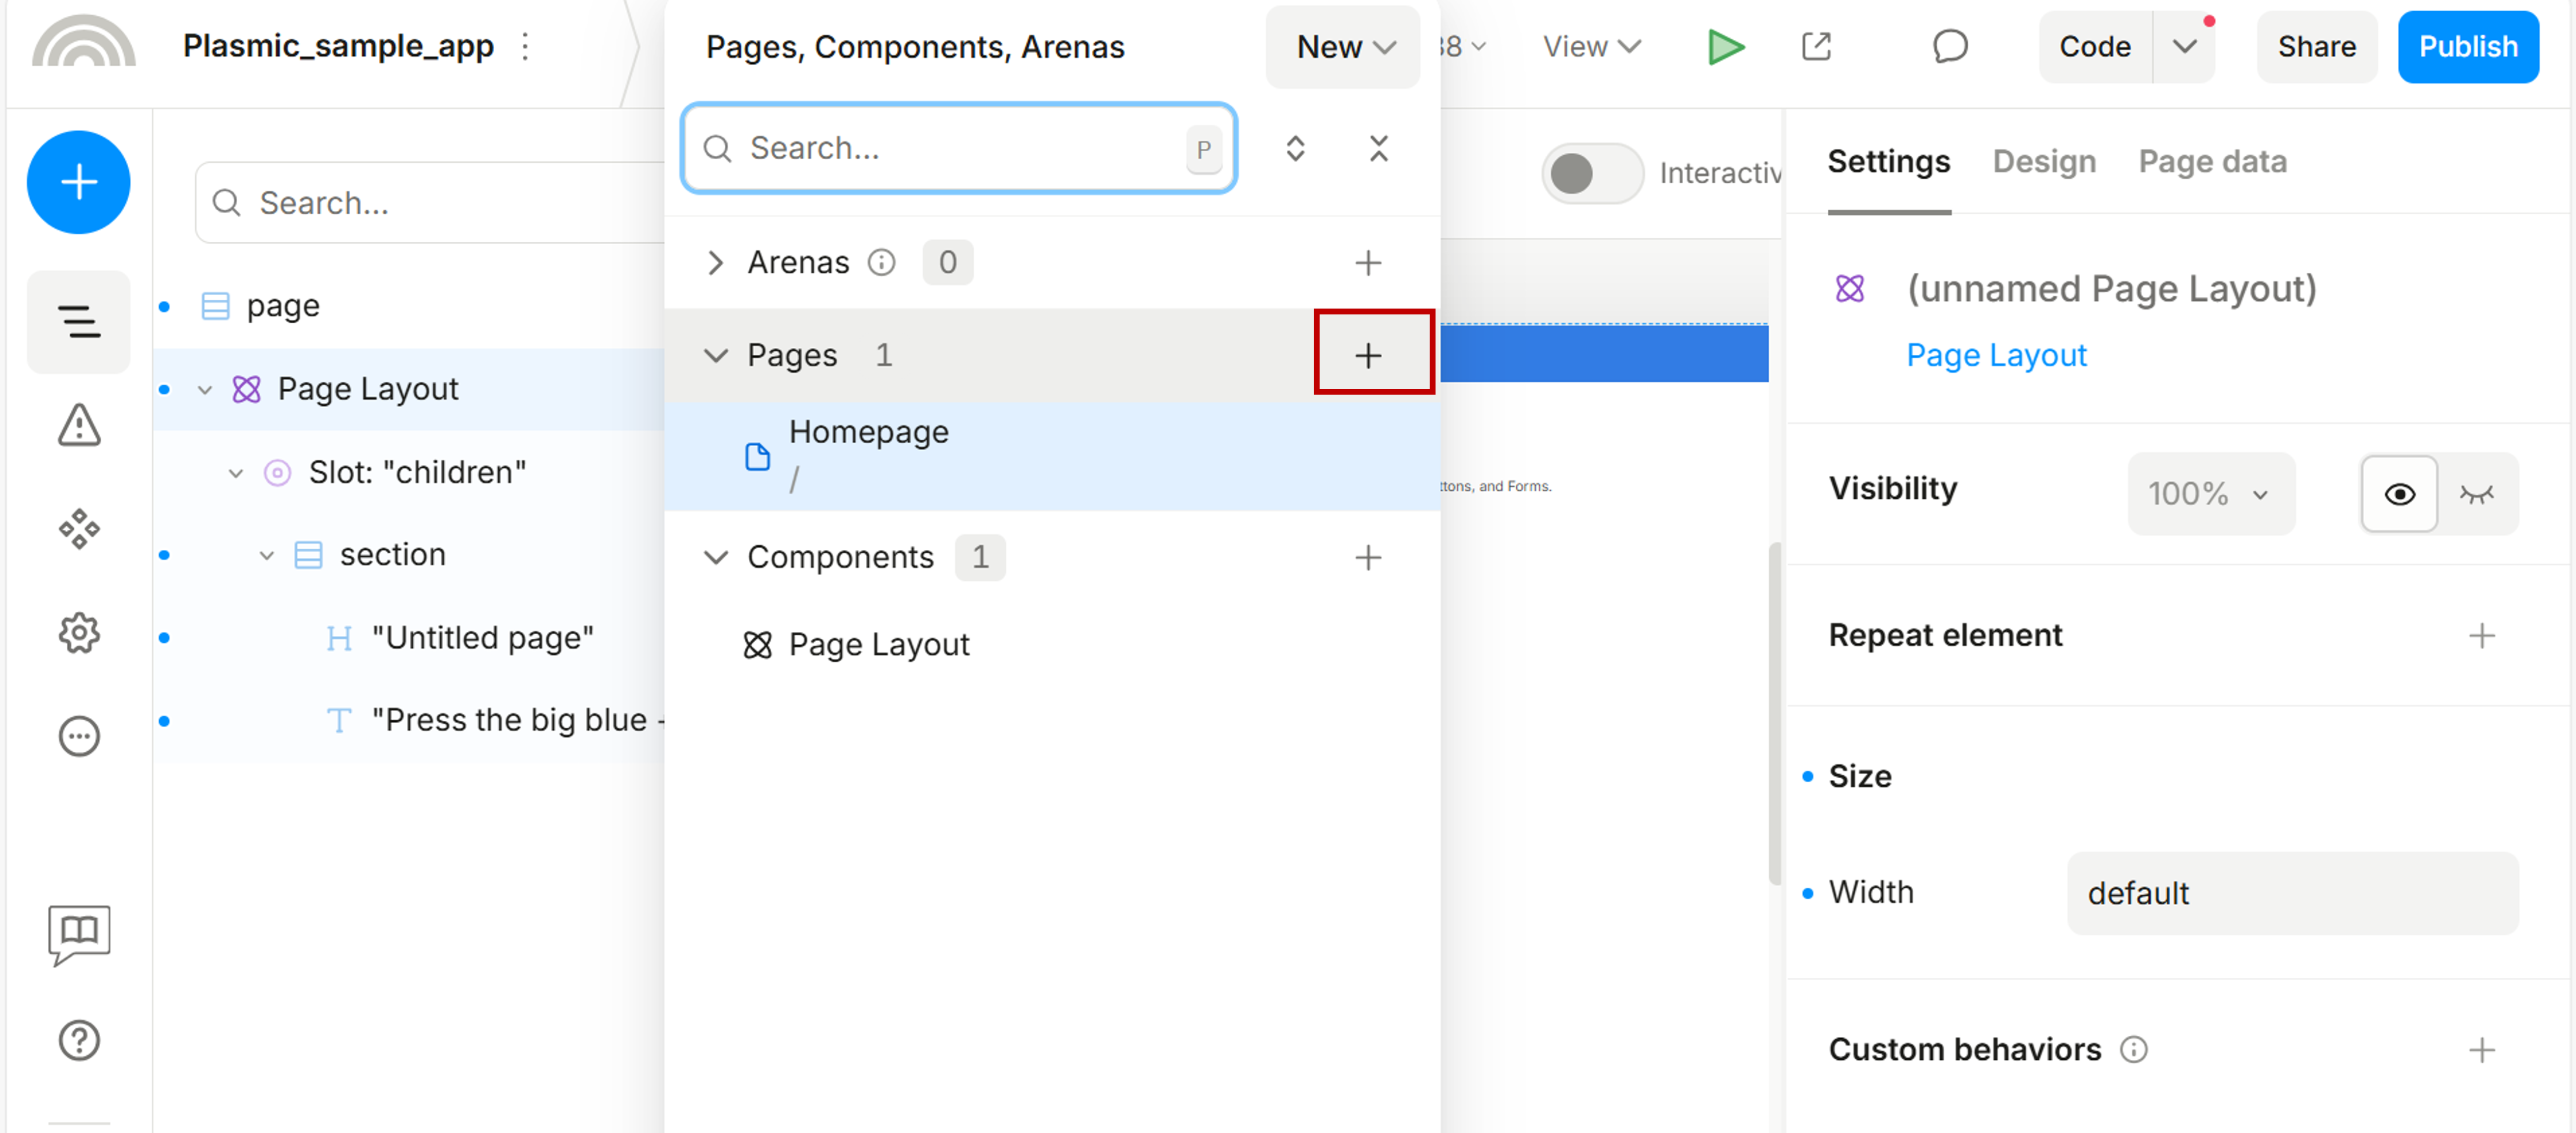
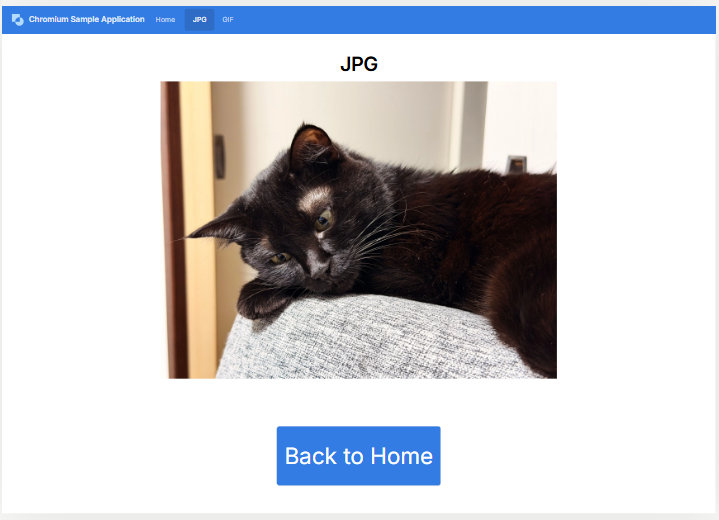
Please refer to the image below to design your JPG page layout.
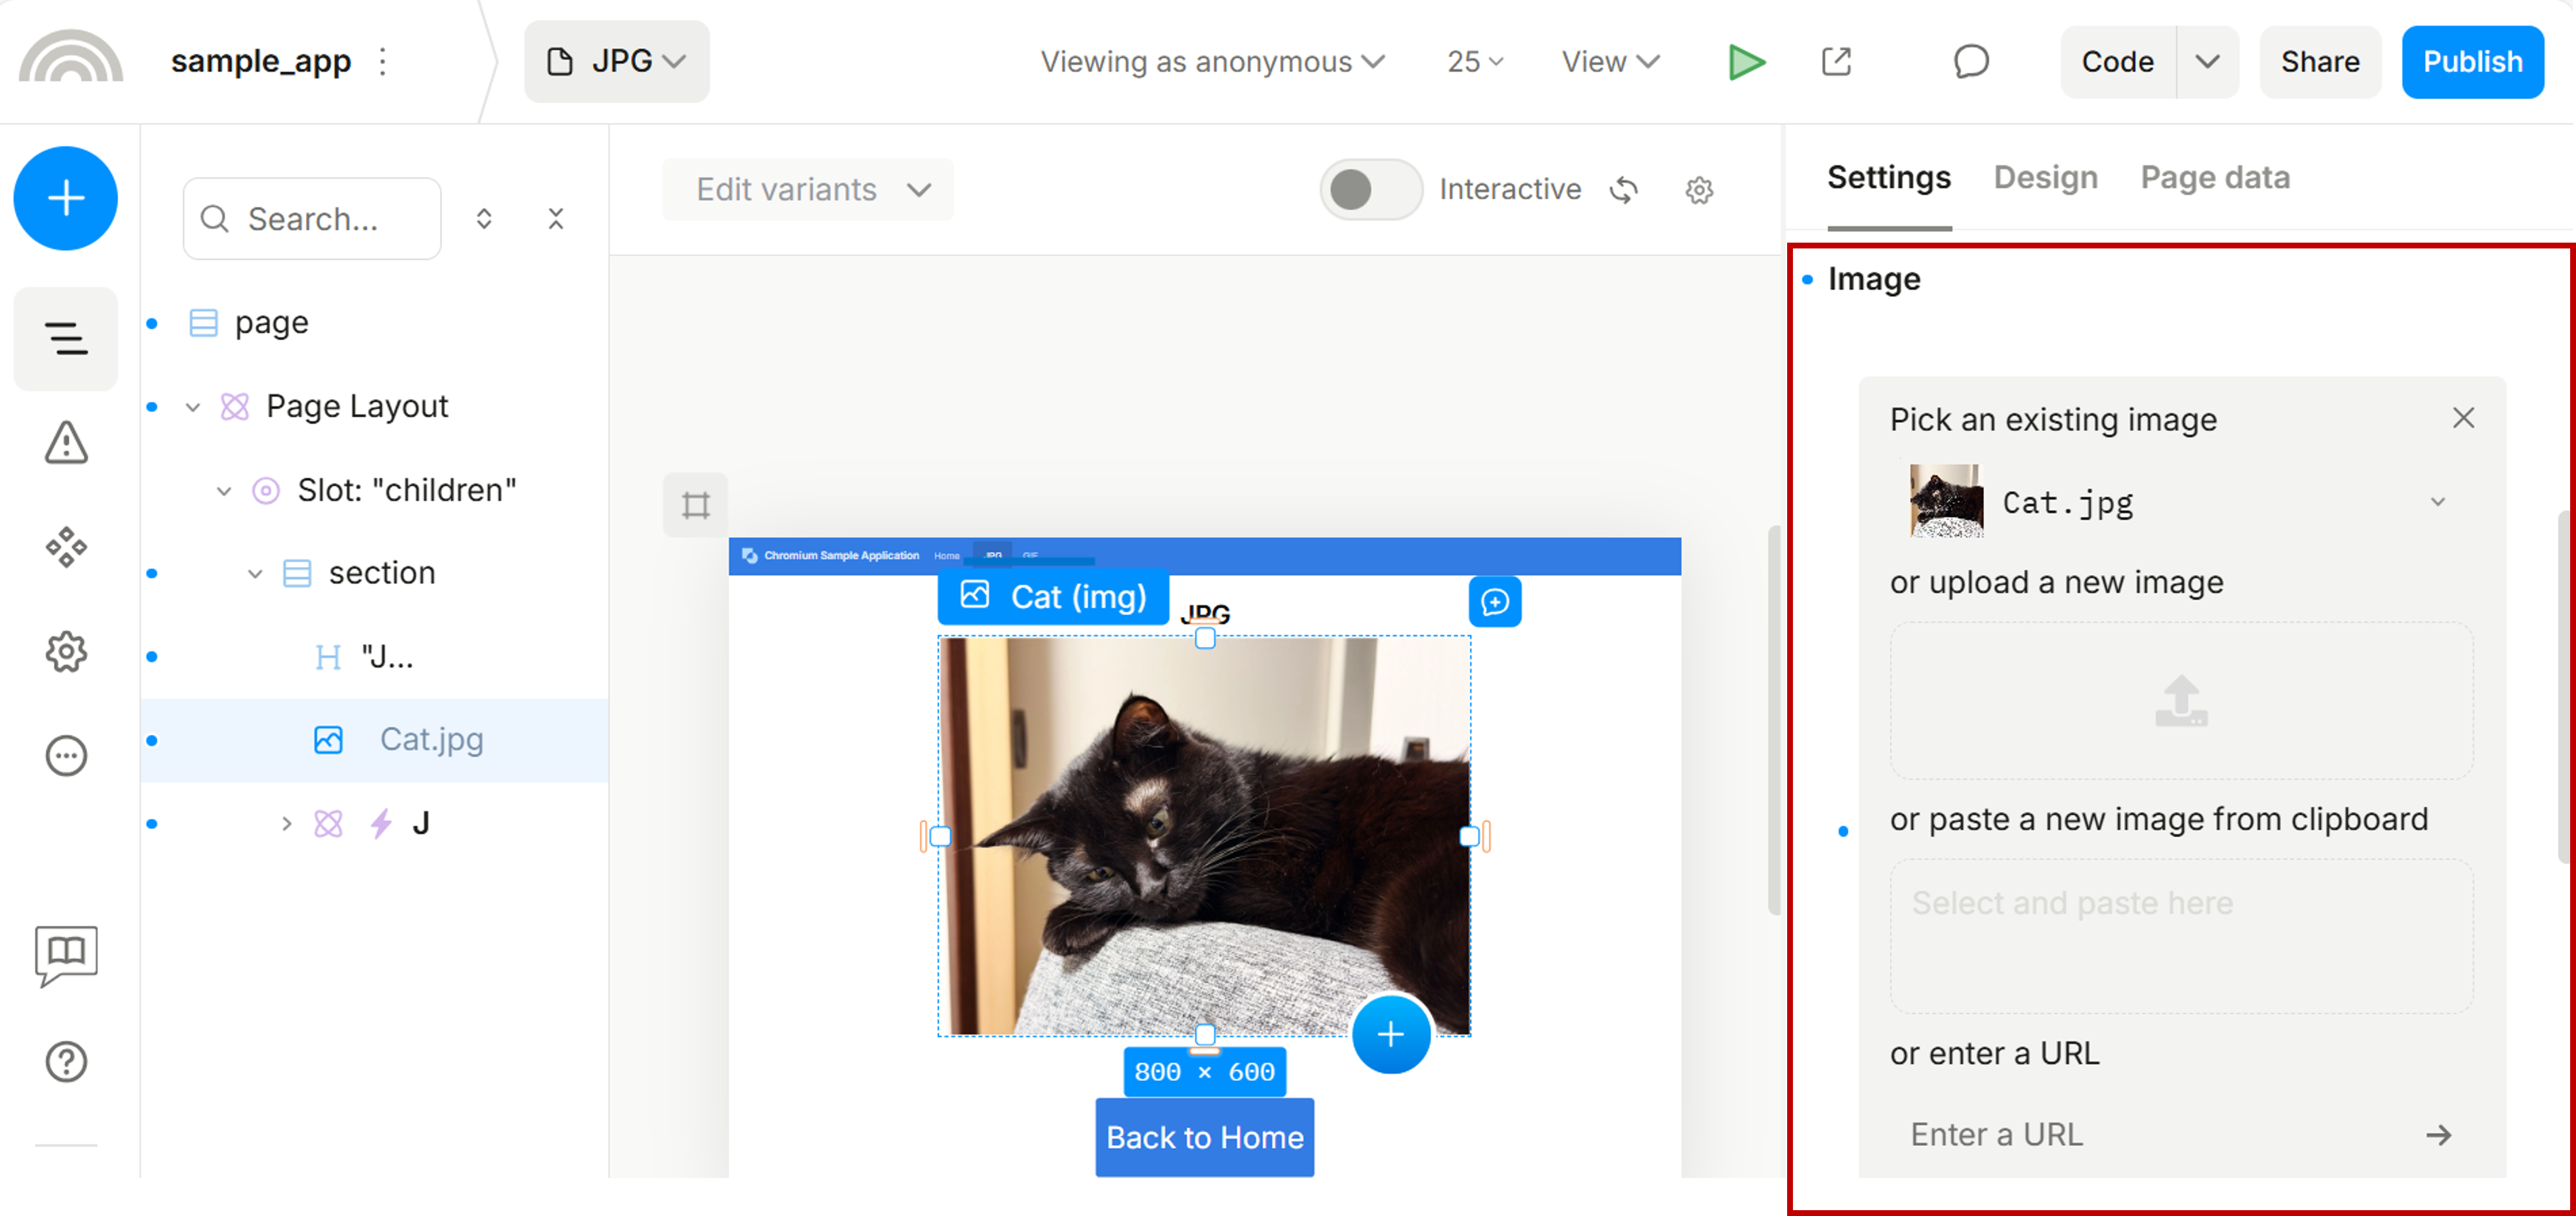
Click Display Image File to download the display image package (including JPG and GIF files), then upload Cat.jpg via Settings → Image, as shown in the red box.
GIF page
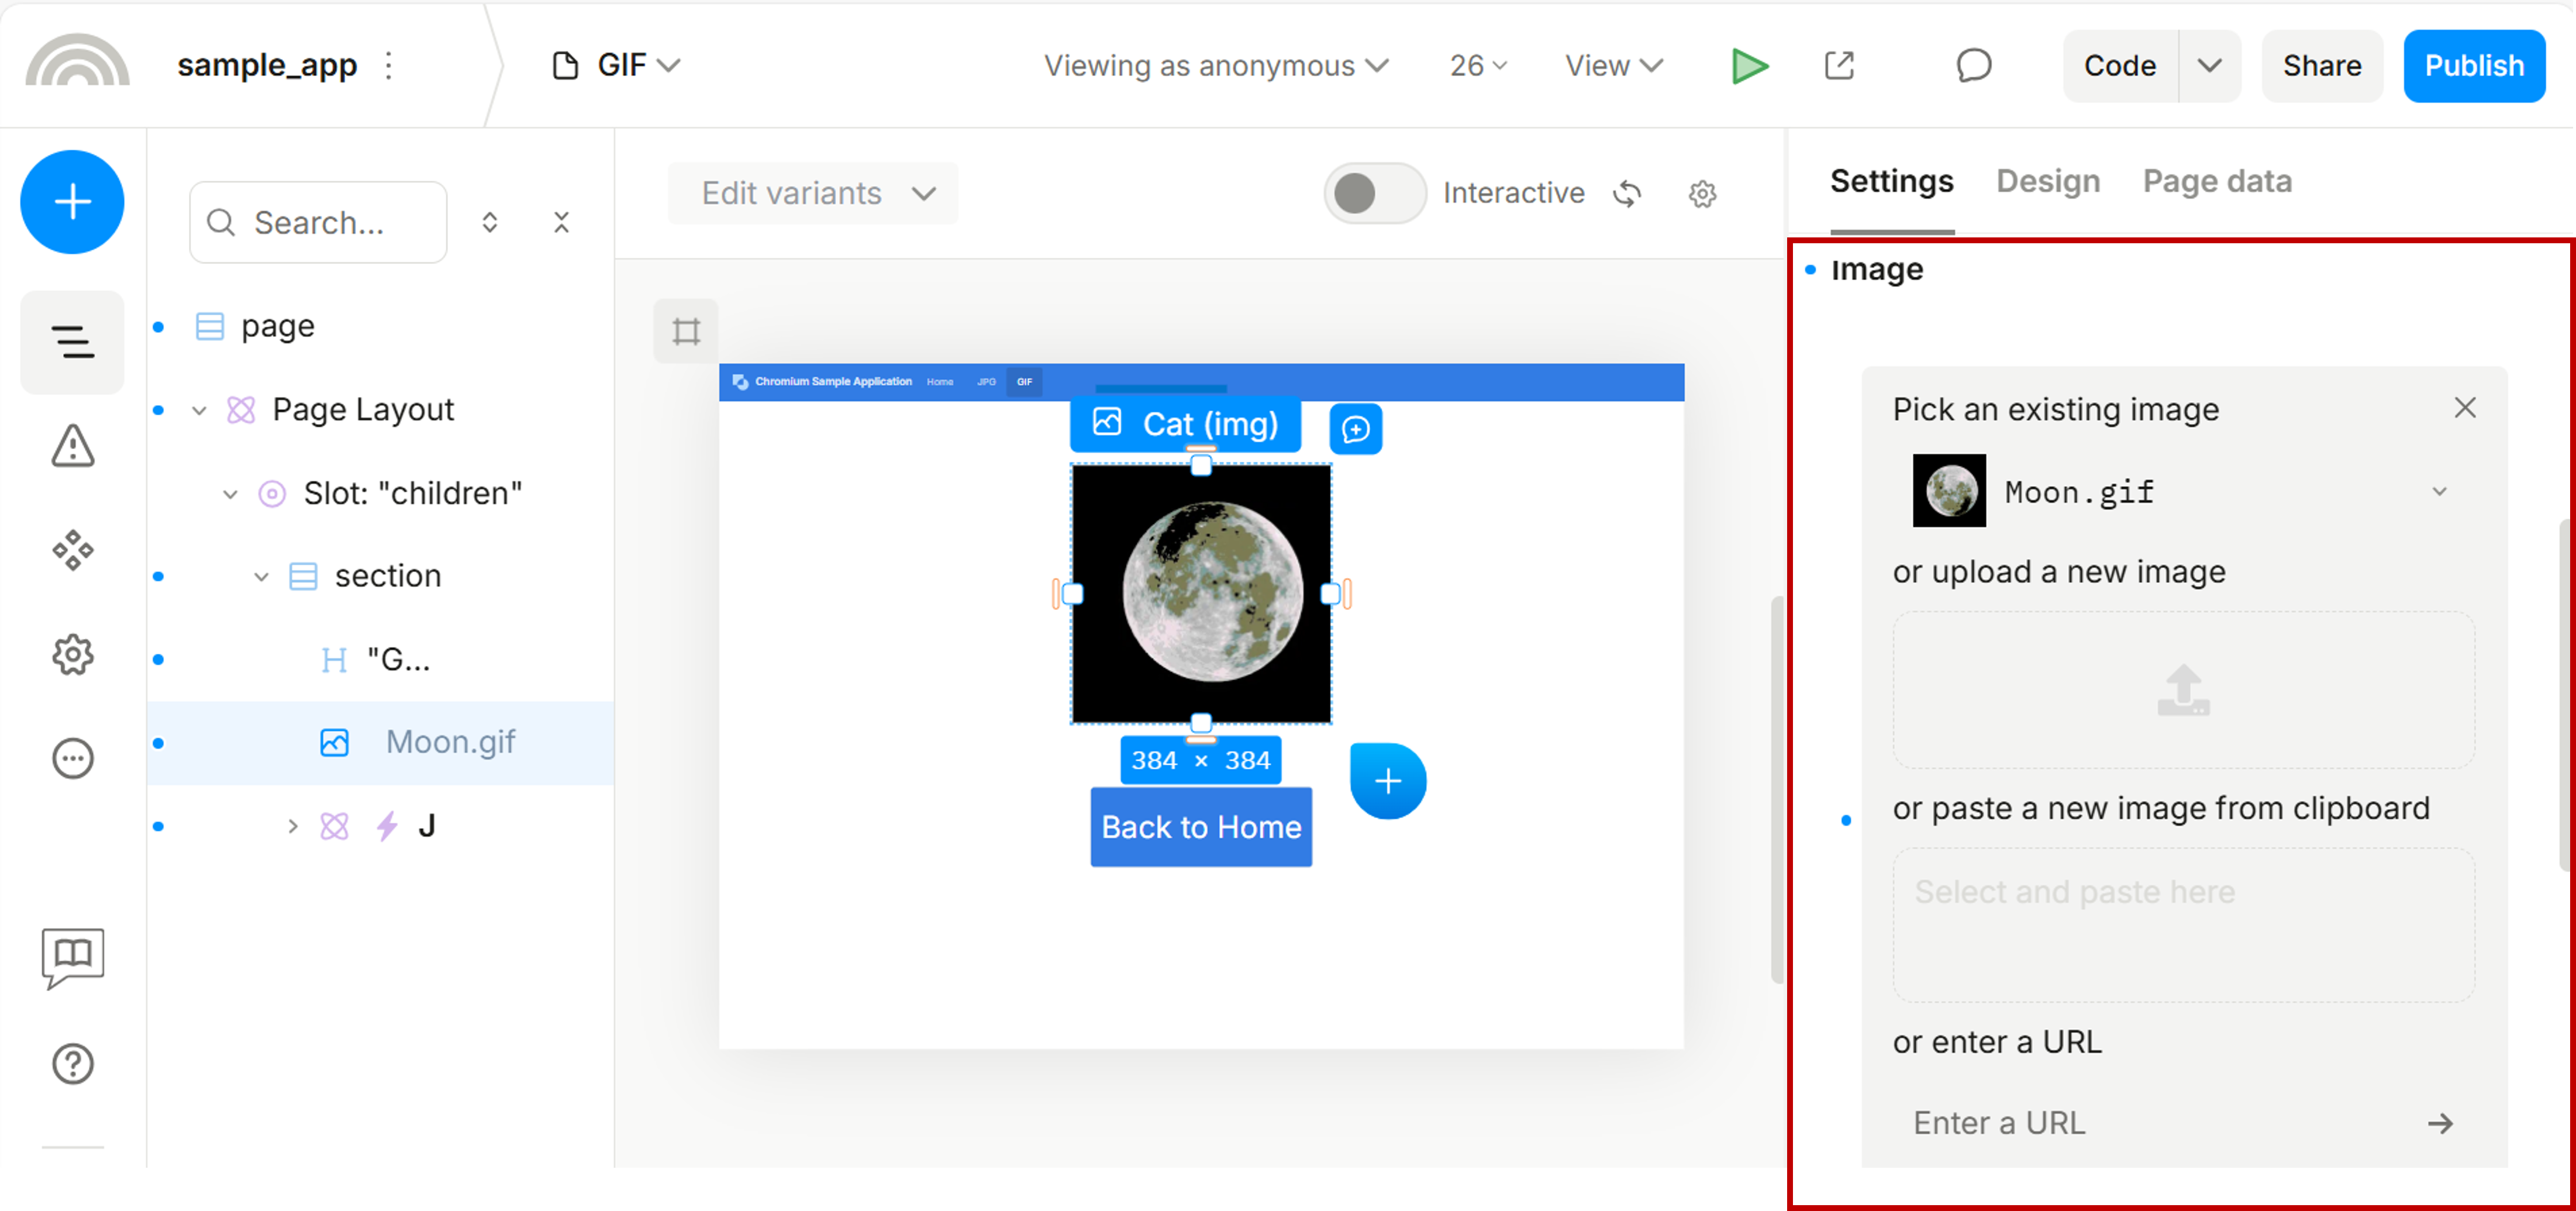
Duplicate the JPG page and rename it to GIF. Then, refer to the image below to modify your GIF page layout.

Upload the Moon.gif file you downloaded from Display Image File to the GIF page, as shown in the red box.
Add navigation flow to each page.
Homepage
From the Homepage to the JPG page:
Click the JPG button and configure Settings → Interactions as shown below.
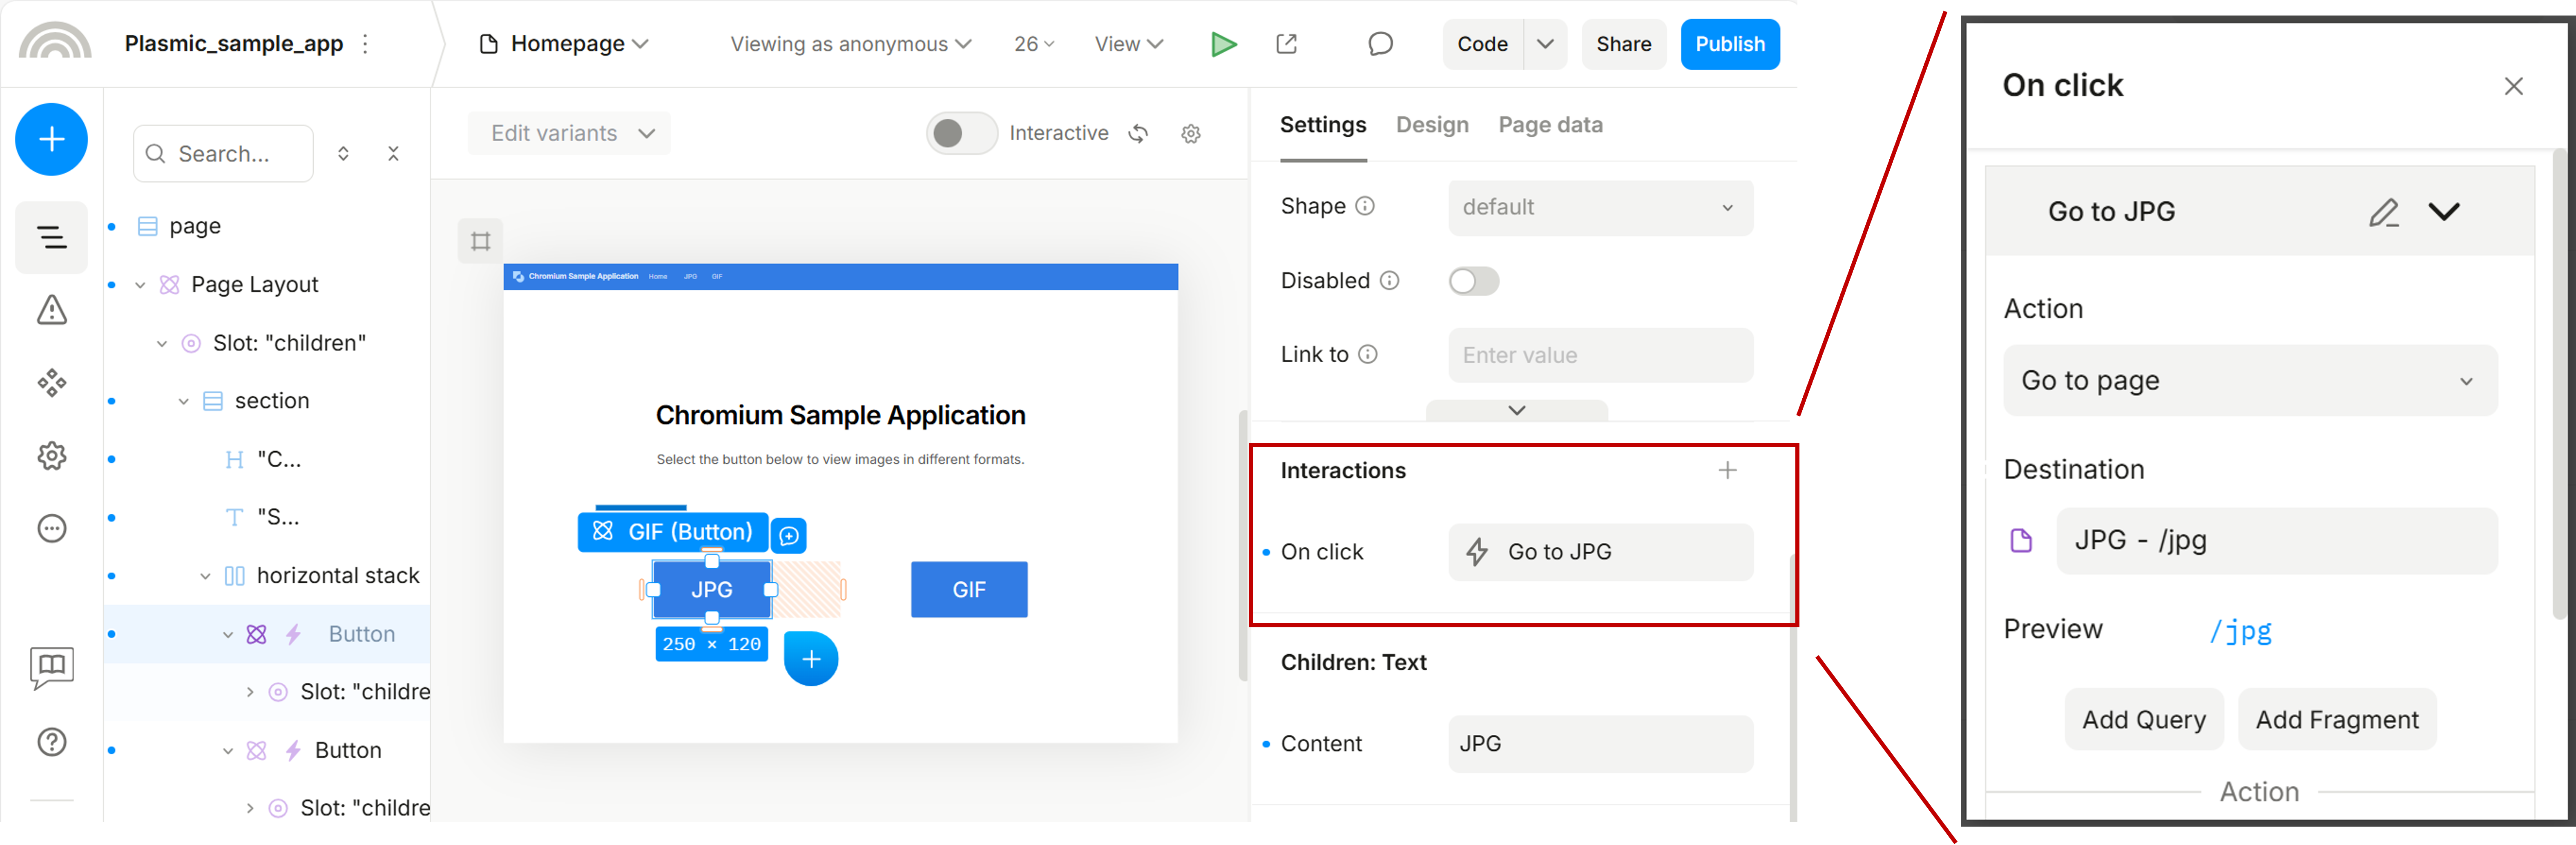
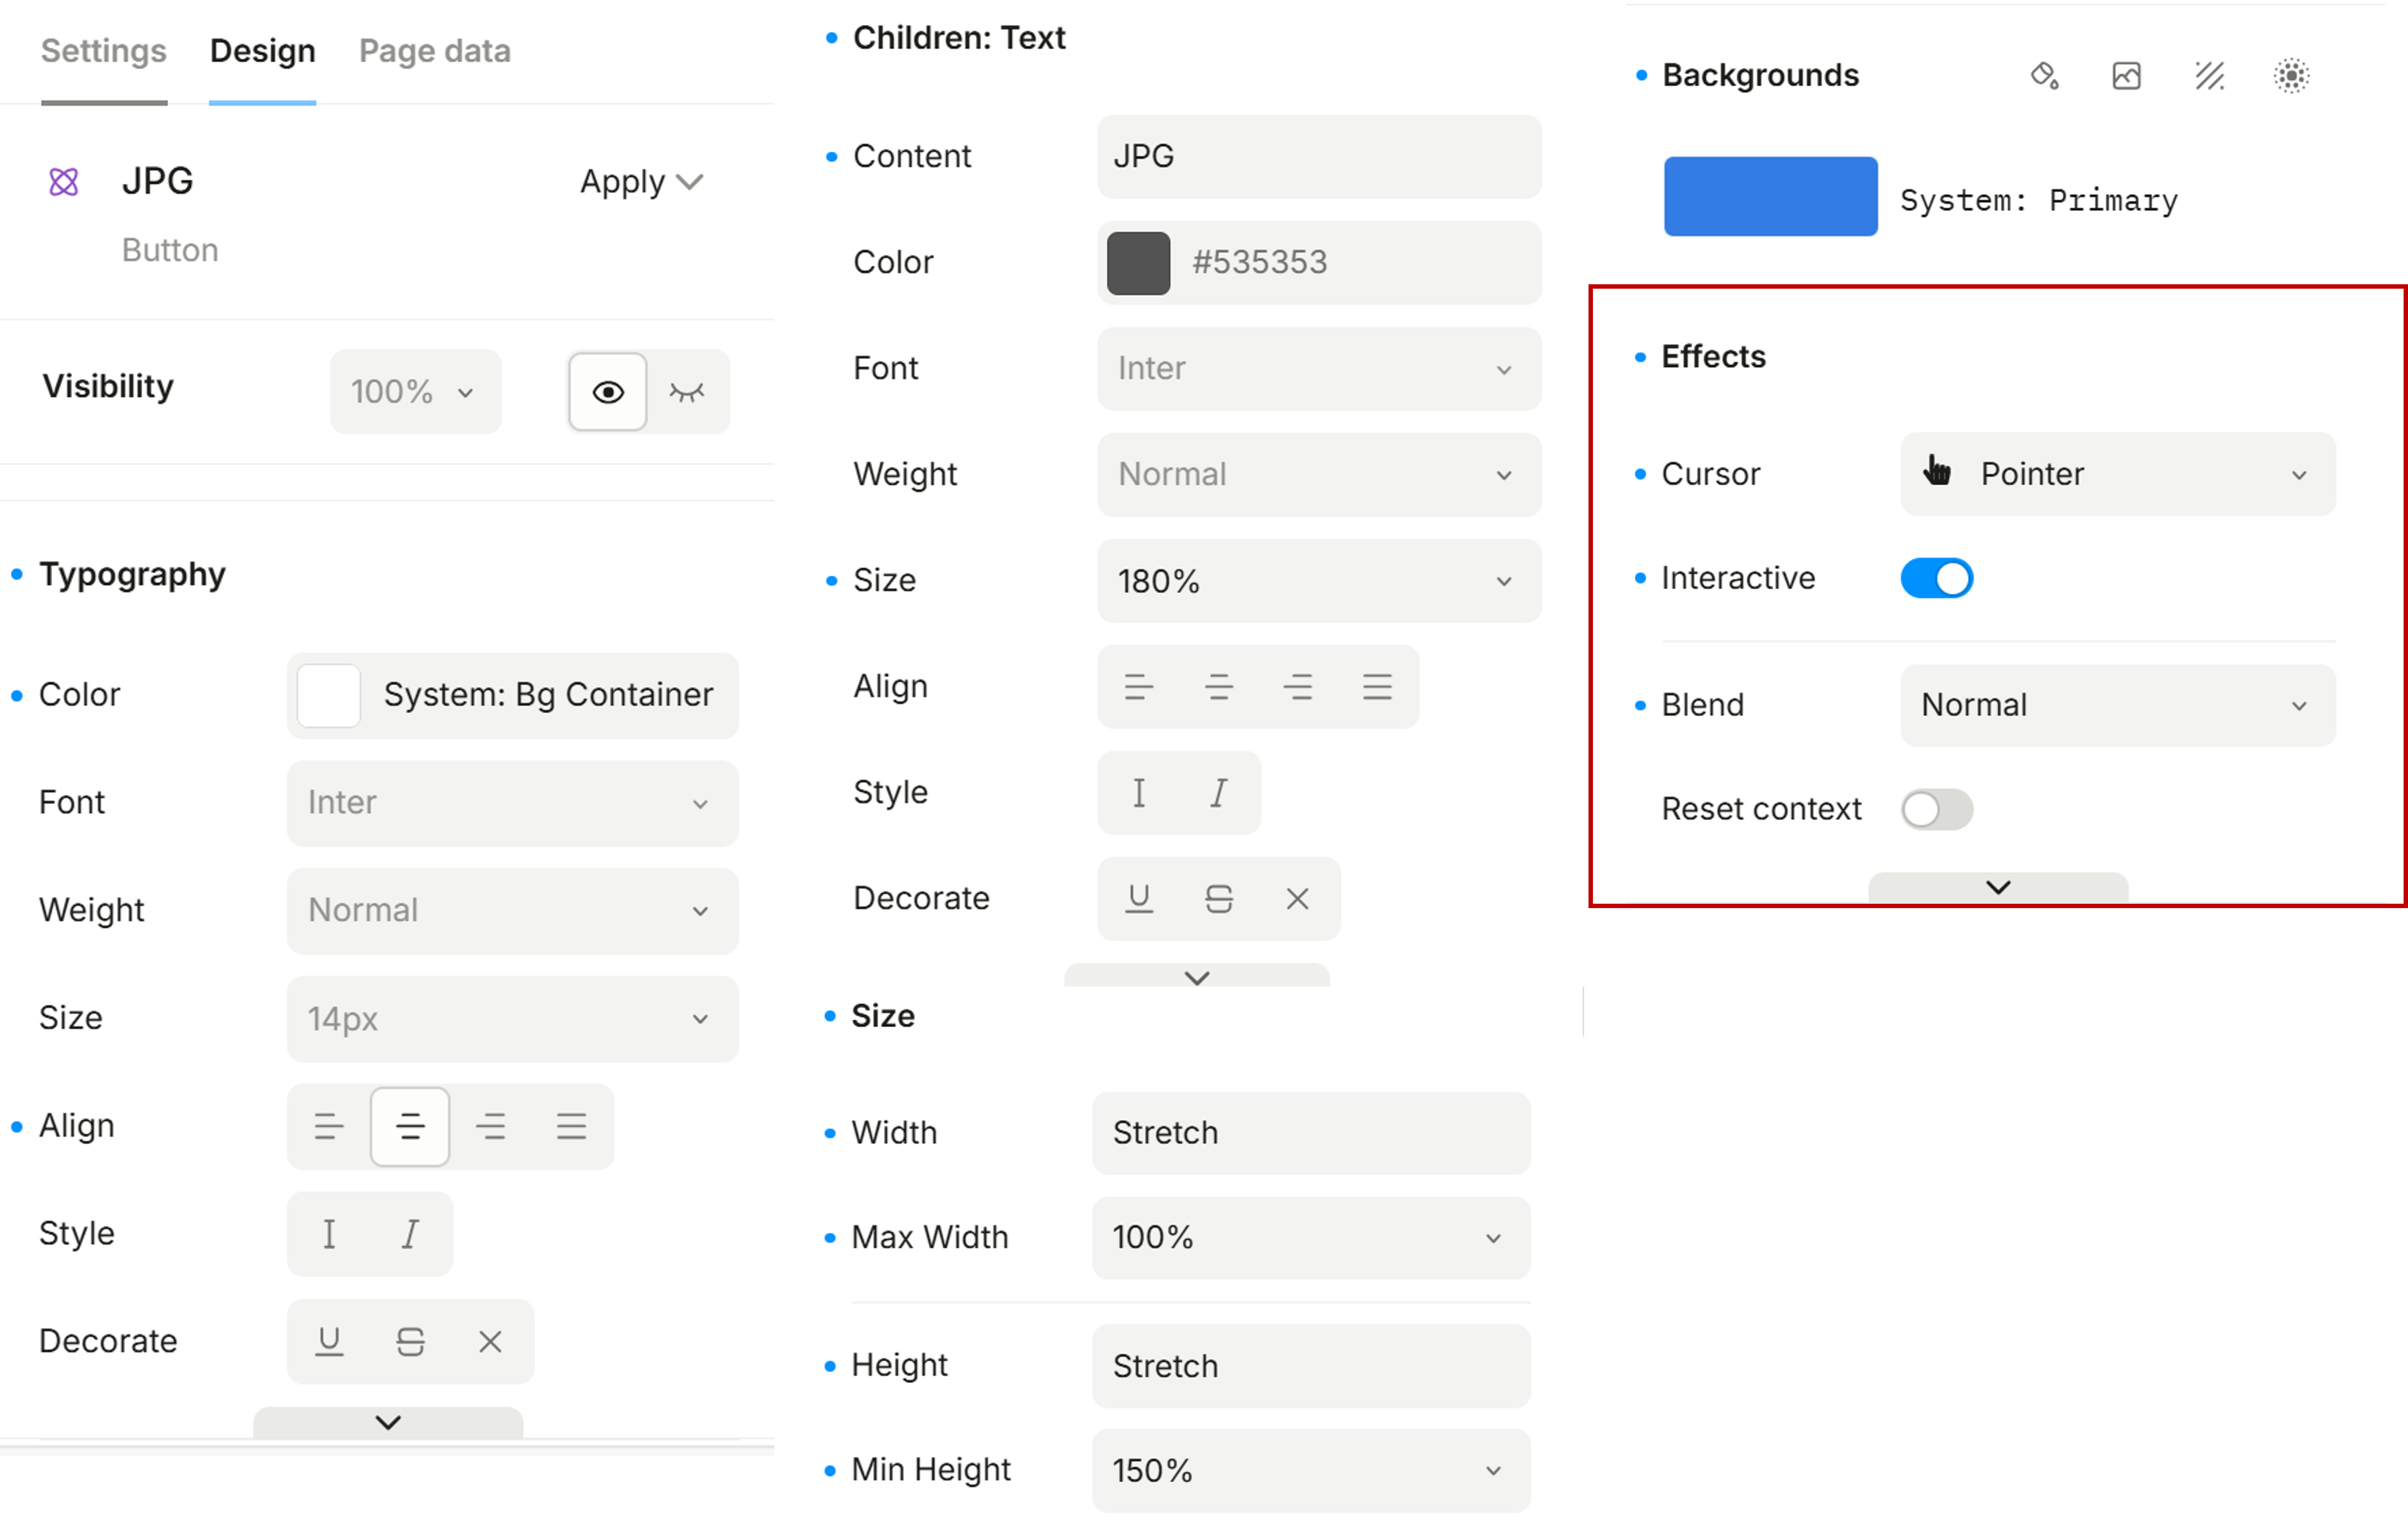
Also refer to the image below to adjust the Design settings, especially the Effects section highlighted in the red box.
From the Homepage to the GIF page:
Please apply a similar setup based on the procedure above, but change Settings → Interactions from Go to page (JPG) to Go to page (GIF).
JPG page
From the JPG page to Homepage
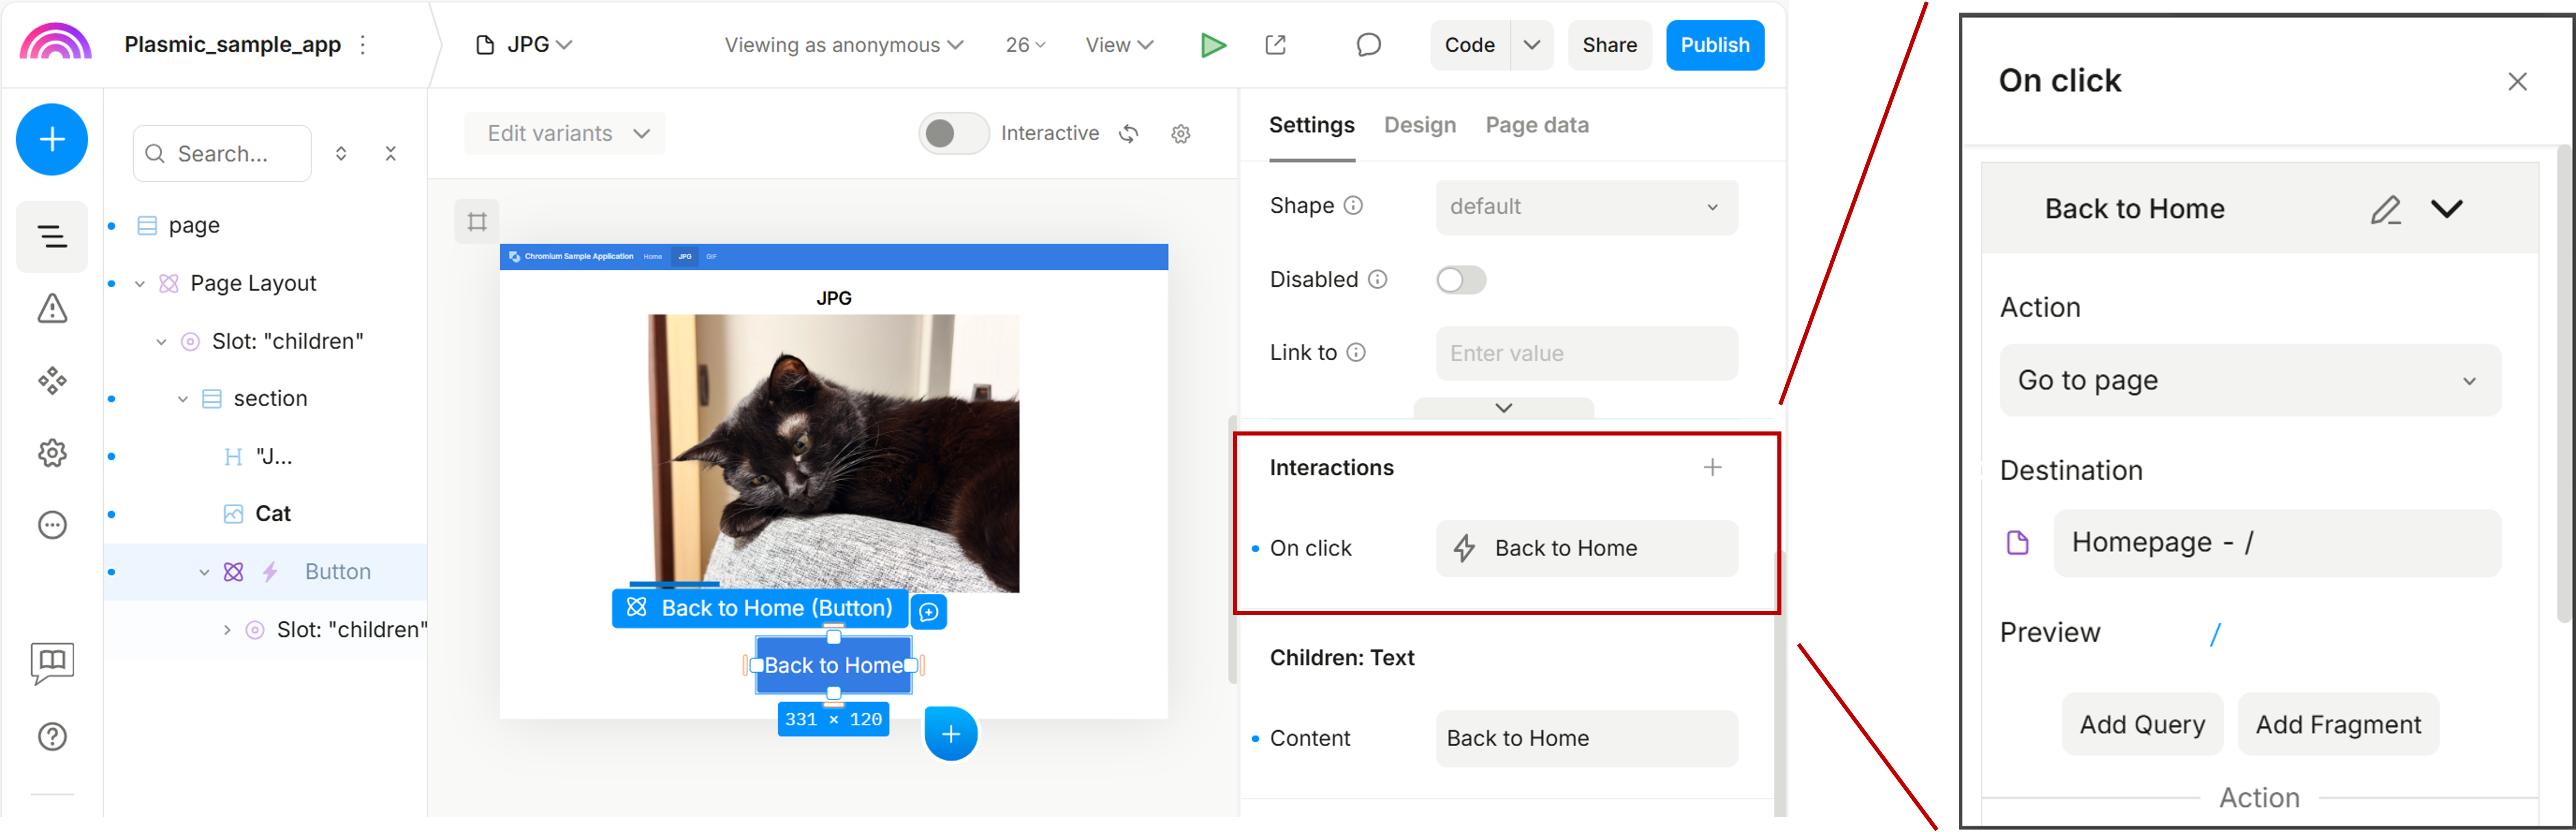
Click the Back to Home button and configure Settings → Interactions as shown below.
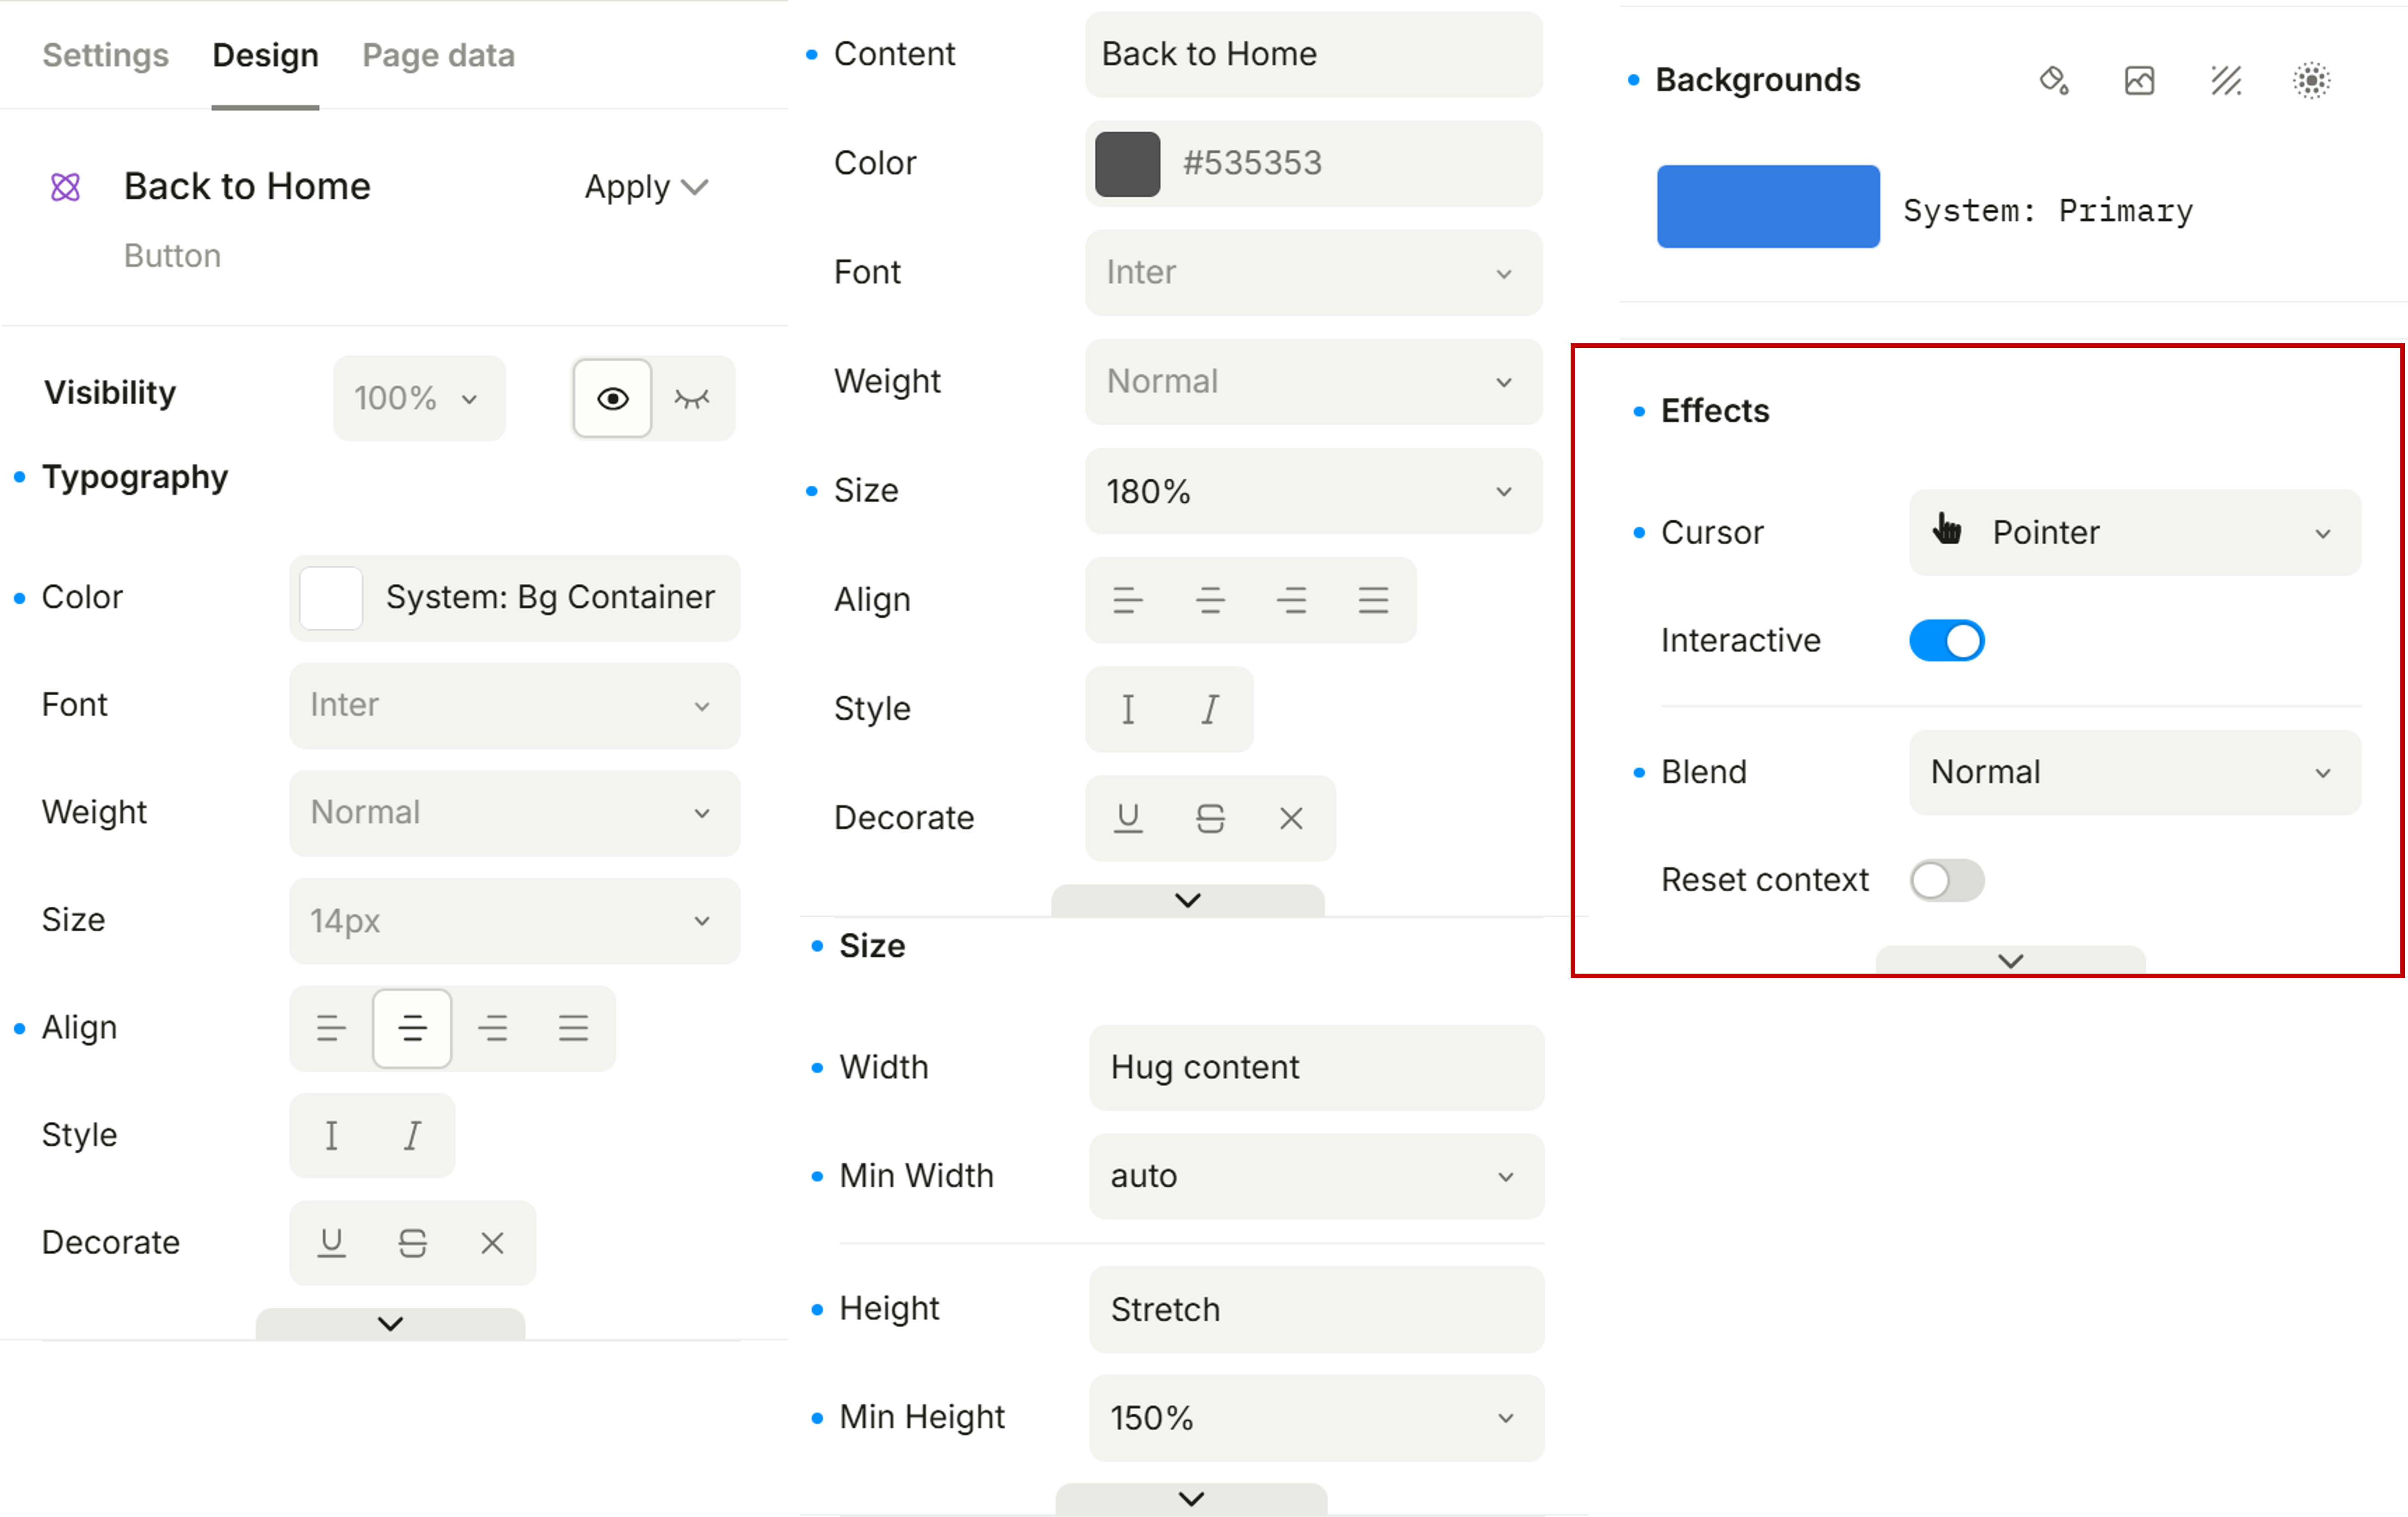
Also refer to the image below to adjust the Design settings, especially the Effects section highlighted in the red box.
GIF page
- From the GIF page to Homepage
Please apply the same setup to the Back to Home button based on the procedure above.
Step 2: Create React App and Connect Plasmic
Tip
A Linux PC is required from this step.
2-1. Install equired environment
Install npm.
Run the following command to install npm on your Linux PC.
Run
npmin the command prompt and confirm that the following output is displayed.npm <command> Usage: npm install install all the dependencies in your project npm install <foo> add the <foo> dependency to your project npm test run this project's tests npm run <foo> run the script named <foo> npm <command> -h quick help on <command> npm -l display usage info for all commands npm help <term> search for help on <term> npm help npm more involved overviewInstall Node.js (via nvm).
Run the following command to install
nvm(https://github.com/nvm-sh/nvm).Node.js version 22.17.0 or later is required. Use nvm to install and switch to the appropriate Node.js version.
Install Node.js (v22.17.0) using the following command.The setup is complete when you see
Now using node v22.17.0 (npm v10.9.2).Install Plasmic CLI.
2-2. Create React Application Connect Plasmic
Create React App.
Initialize Plasmic.
Accept defaults.
Sync Plasmic project.
Tip
Check the address bar of your Plasmic project to find the project ID.
For example:
https://studio.plasmic.app/projects/3LLFS5U8JLrzi1w2ibGFHs/-/Homepage?...The string after /projects/ (e.g.,
3LLFS5U8JLrzi1w2ibGFHs) is your project ID.Install router.
Step 3: Run the Plasmic Sample Application and Verify Locally
Setup App.js.
Replace the contents of App.js with the following code:
App.jsimport './App.css'; import { HashRouter, Routes, Route } from 'react-router-dom'; import { PlasmicHomepage } from './components/plasmic/Plasmic_sample_app/PlasmicHomepage'; import { PlasmicJpg } from './components/plasmic/Plasmic_sample_app/PlasmicJpg'; import { PlasmicGif } from './components/plasmic/Plasmic_sample_app/PlasmicGif'; import { StyleTokensProvider } from './components/plasmic/Plasmic_sample_app/PlasmicStyleTokensProvider'; import GlobalContextsProvider from './components/plasmic/Plasmic_sample_app/PlasmicGlobalContextsProvider'; function App() { return ( <StyleTokensProvider> <GlobalContextsProvider> <HashRouter> <Routes> <Route path="/" element={<PlasmicHomepage />} /> <Route path="/jpg" element={<PlasmicJpg />} /> <Route path="/gif" element={<PlasmicGif />} /> </Routes> </HashRouter> </GlobalContextsProvider> </StyleTokensProvider> ); } export default App;Run the Plasmic project locally.
If the setup is correct, you should see output similar to the following.
Compiled successfully!

You can now view plasmic_app in the browser.

Local:            http://localhost:3000
On Your Network:  http://10.166.28.19:3000

Note that the development build is not optimized.
To create a production build, use npm run build.

webpack compiled successfully
Click the URL to view your Plasmic sample application in the browser.
Check:
- UI matches Plasmic
- Navigation worksUpdate flow.
If you are not satisfied with the UI design, you can update it in your Plasmic project.
After making changes, sync latest changes to pull the updates.Then re-run locally.
Step 4: Build the Chromium Sample Application
Build the Plasmic project using the following command.
A successful build will show messages similar to:
> plasmic_app@0.1.0 build
> react-scripts build

Creating an optimized production build...
Compiled successfully.

File sizes after gzip:

369.48 kB  build/static/js/main.d5975c8f.js
9.75 kB    build/static/css/main.c578c552.css
1.76 kB    build/static/js/453.5f6ea413.chunk.js

The project was built assuming it is hosted at /.
You can control this with the homepage field in your package.json.

The build folder is ready to be deployed.
You may serve it with a static server:

npm install -g serve
serve -s build

Find out more about deployment here:

https://cra.link/deployment
After the build completes, a build directory will be created in your Plasmic_sample_app directory.
The directory structure under Plasmic_sample_app/ should look like the following:
.
├── build
├── node_modules
├── package.json
├── package-lock.json
├── plasmic.json
├── plasmic.lock
├── public
├── README.md
└── src
And the directory structure under Plasmic_sample_app/build/ should look like the following:
.
build/
├── asset-manifest.json
├── favicon.ico
├── index.html
├── logo192.png
├── logo512.png
├── manifest.json
├── robots.txt
└── static
    ├── css
    ├── js
    └── media

4 directories, 7 files
Step 5. Deploy the Chromium Sample Application
Insert your SD card into the Linux PC and mount it.
Notice
Make sure to turn off your EVK board before ejecting the SD card.
To power off the board, execute the
shutdown -h nowcommand in the terminal. Once the screen turns black, press and hold the power button (red button) for approximately 2 seconds to complete the shutdown process.Copy the built web application files to your SD card.
Tip
- On your Linux PC, the plasmic sample applications are now located at:
<path-to>/Plasmic_samples_app/build - We recommend deploying the application to the following directory on your EVK board:
/usr/share/chromium_demo/ - Follow the instructions in Getting Started - Step 4 in Option 2 to check where your SD card is mounted using the
lsblkcommand.
Create a new directory for the Plasmic sample application.
Copy the Plasmic sample application files:
- On your Linux PC, the plasmic sample applications are now located at:
Create a custom Python server and copy it to your SD card.
Click here to download the Python server, or copy the following code to create the Python file manually.
serve-python3.pyimport os import sys from urllib.parse import urlparse from http.server import SimpleHTTPRequestHandler from http.server import HTTPServer class Handler(SimpleHTTPRequestHandler): def do_GET(self): url = urlparse(self.path) request_file_path = url.path.strip('/') if not os.path.exists(request_file_path): self.path = 'index.html' return SimpleHTTPRequestHandler.do_GET(self) host = '0.0.0.0' port = int(sys.argv[1]) if len(sys.argv) > 1 else 8000 httpd = HTTPServer((host, port), Handler) print(f'Serving HTTP on {host} port {port} ...') httpd.serve_forever()Tip
For convenience, place
serve-python3.pyin<sdcard-mount-point>/usr/share/chromium_demo/Plasmic_sample_app/build/on your target board.The directory structure at
<sdcard-mount-point>/usr/share/chromium_demo/Plasmic_sample_appon your target board should look like this:
Please refer to Step 2: Deploy Sample Applications if you want to deploy over ethernet (using SCP).
Step 6. Run the Chromium Sample Application
Prepare the necessary equipment and configure the EVK DIP switches by following the instructions in Hardware Setup.
Insert the bootable microSD card created in Step 5 into the microSD card slot, and then power on the EVK board.
Tip
- Please refer to the EVK Peripheral Setup to locate the microSD card slot based on your selected boot mode.
- Press and hold the power button (red button) for 1 second to turn on the EVK board.
Use the following command on your EVK board to run the Chromium sample application.
Start server.
Launch Chromium:
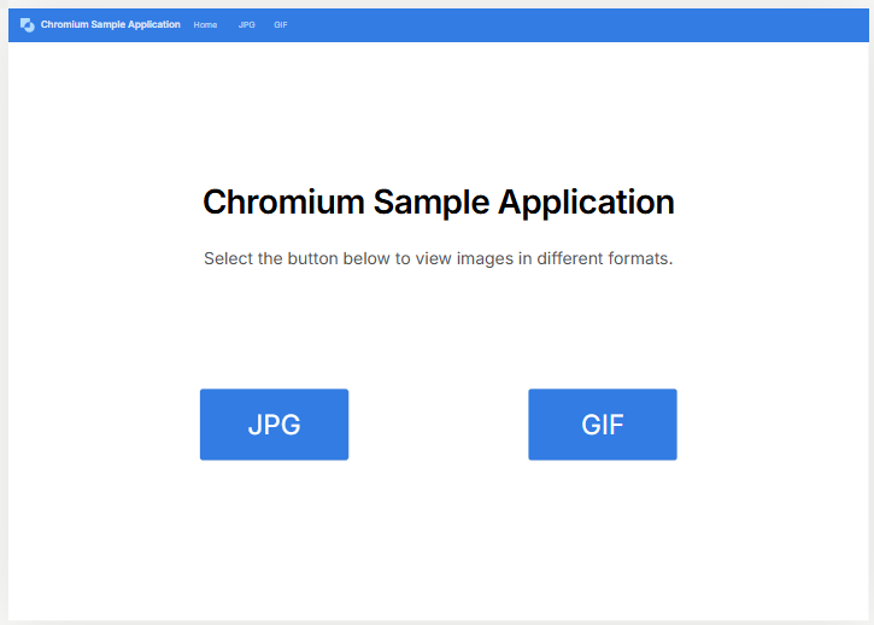
The launched sample application is shown below.
Homepage
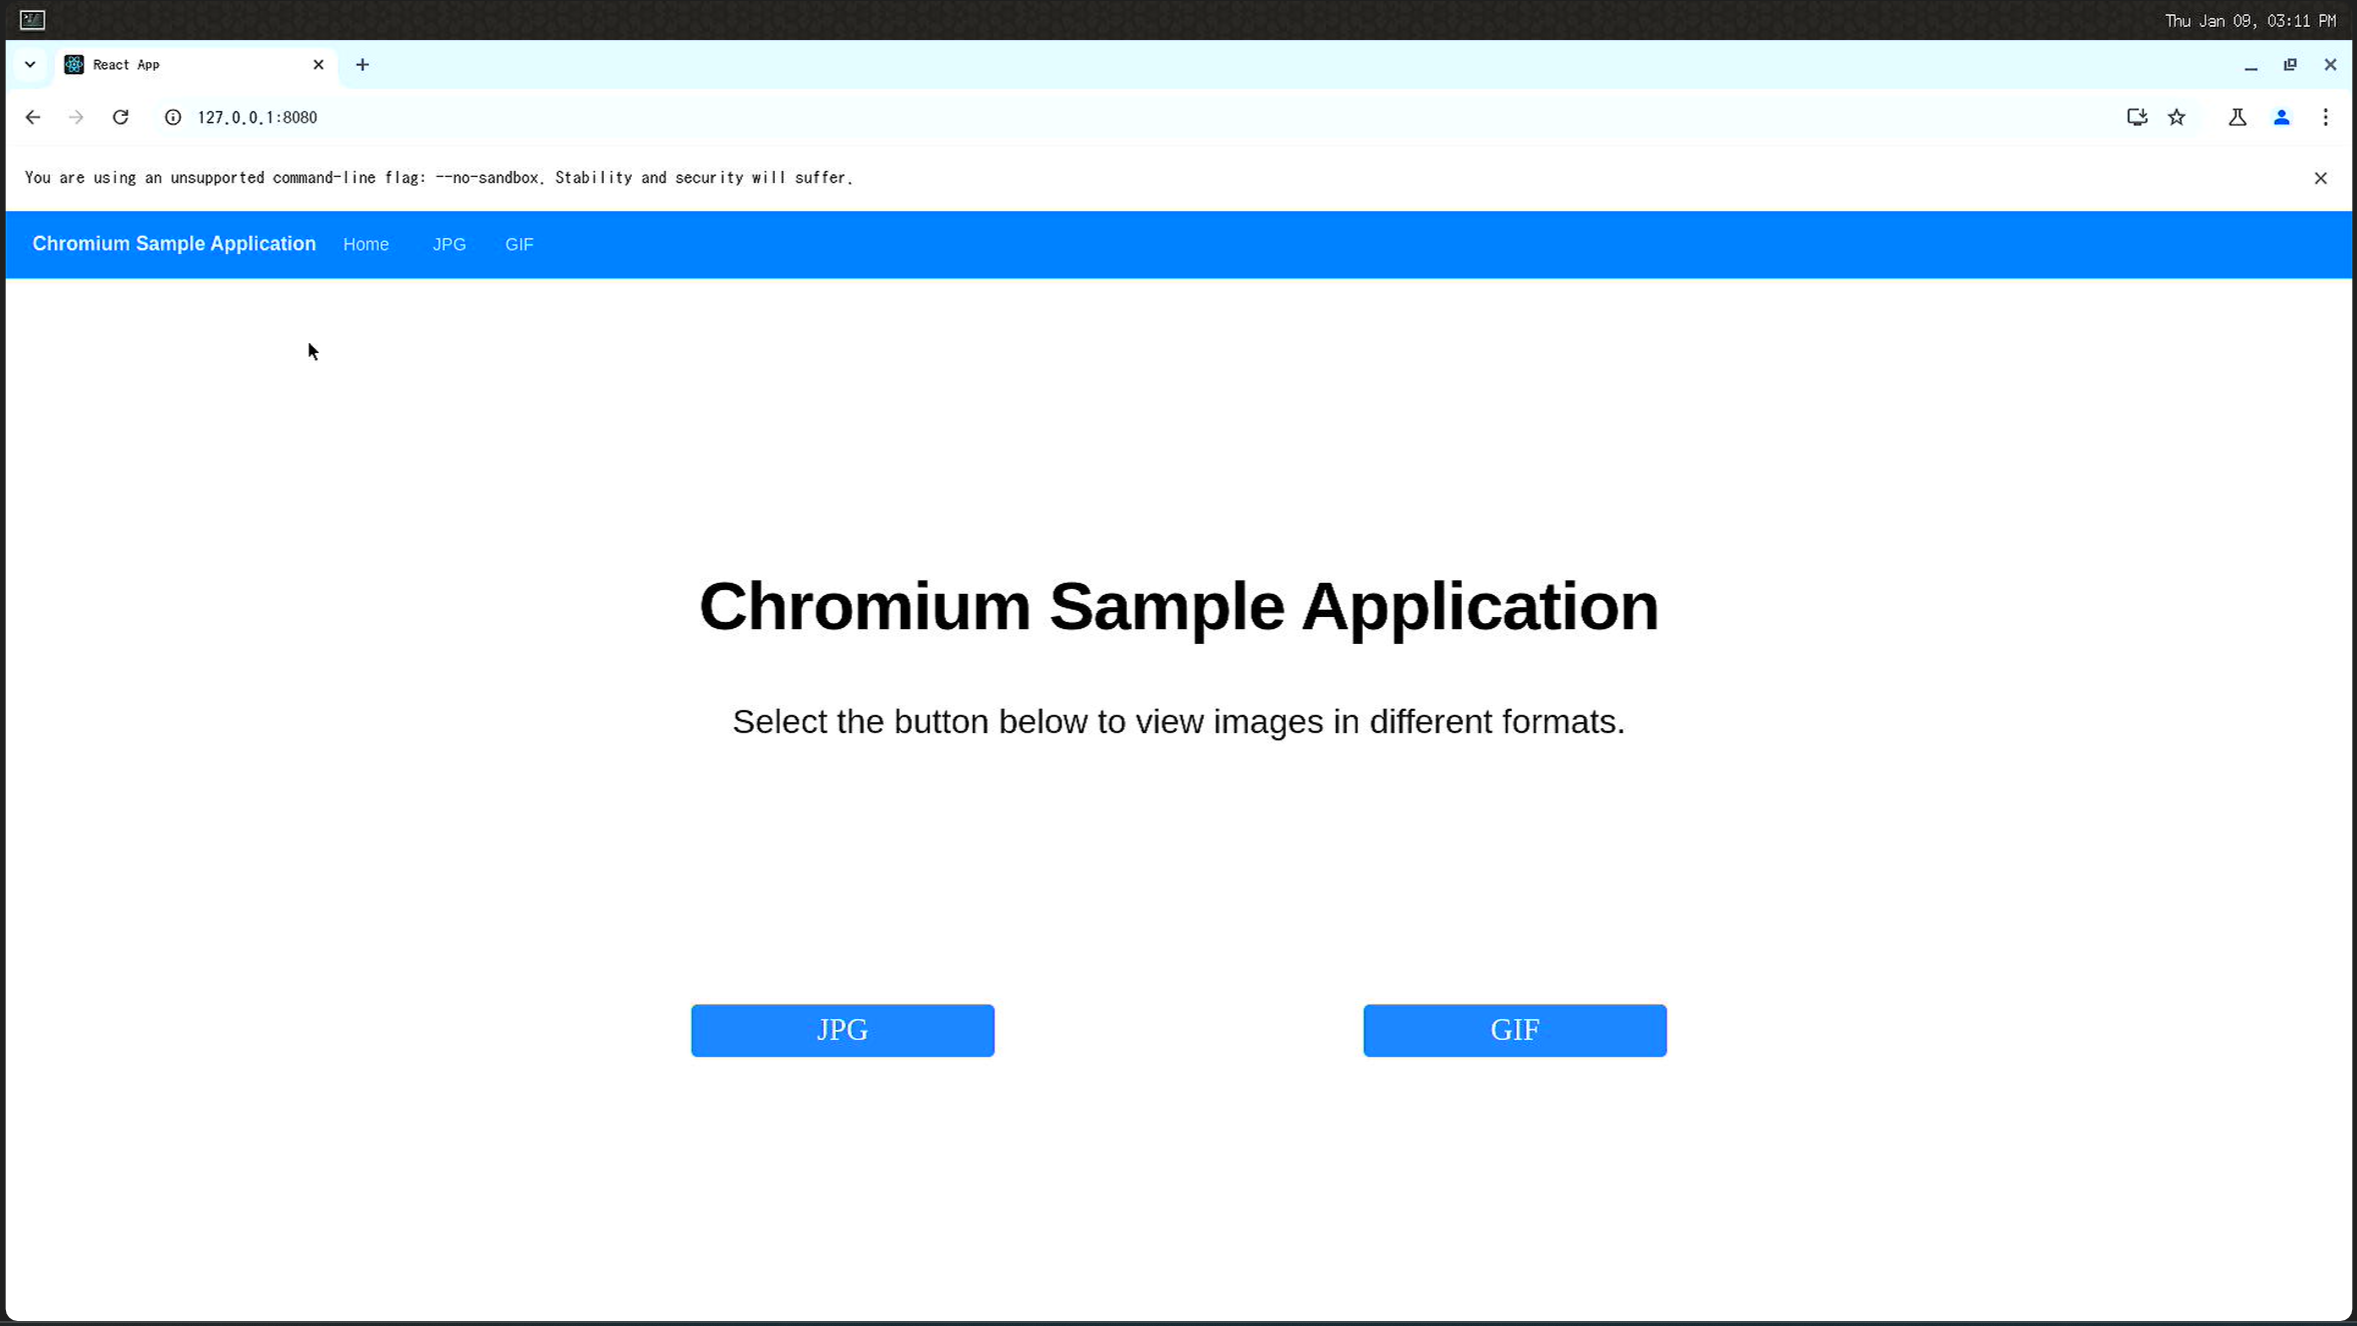
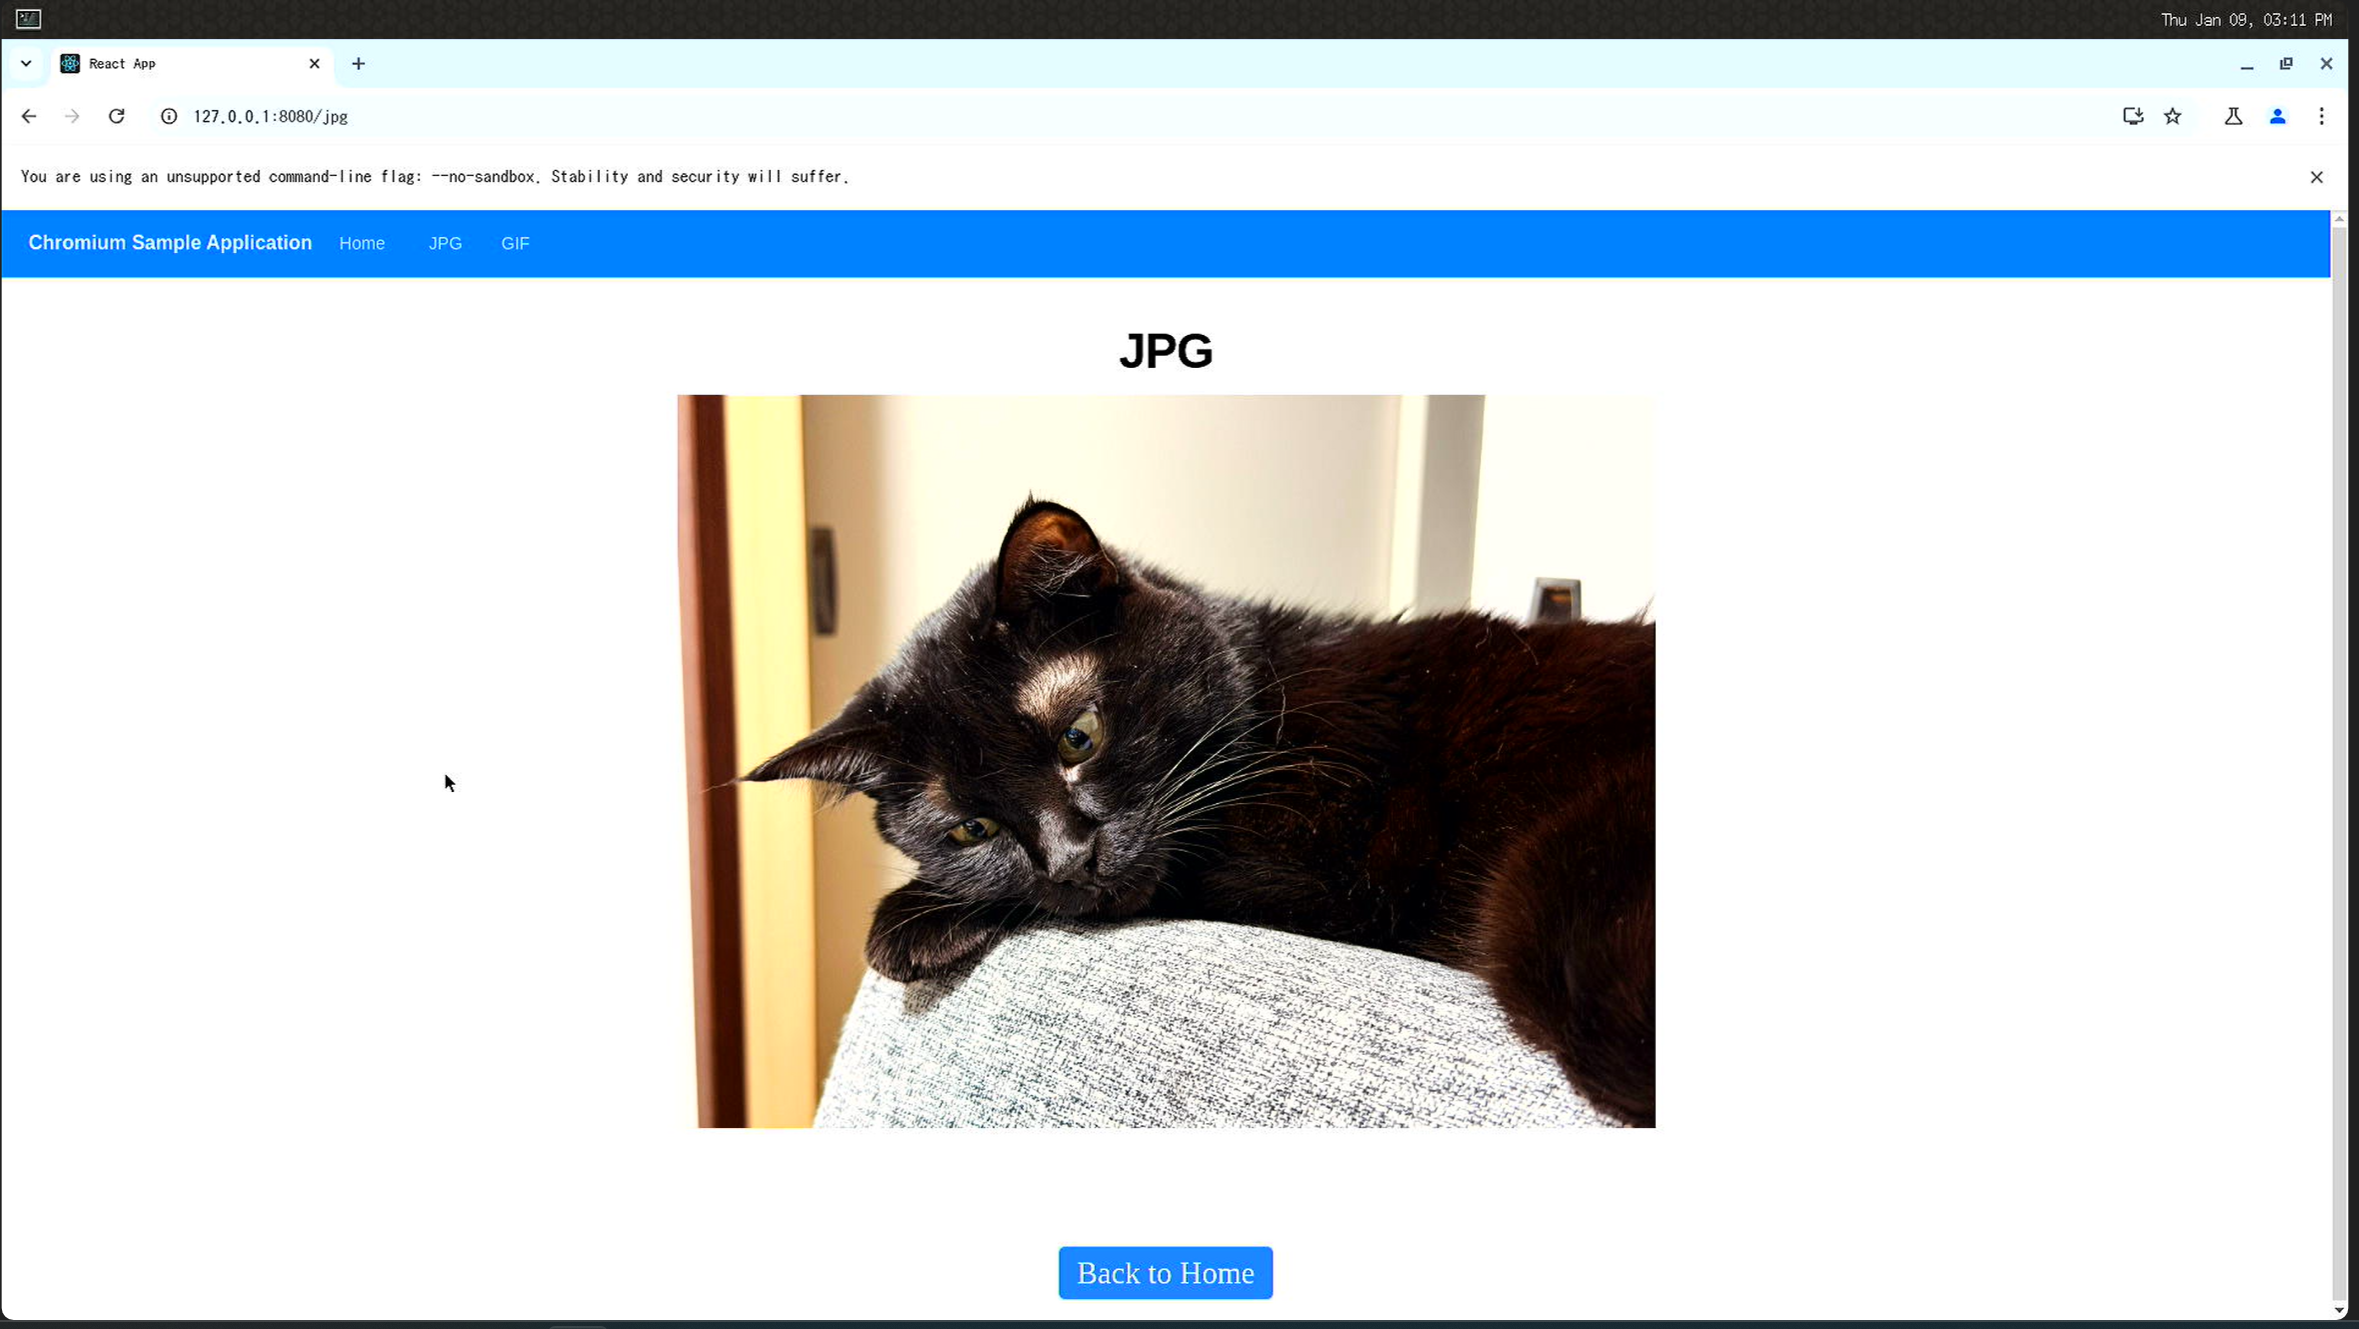
Click the JPEG button, you will get: JPG page
Click the GIF button, you will get: GIF page

Once you have successfully tried this simple Plasmic sample application, you’re ready to start designing your own Chromium applications.